7 Easy Steps to Record Your First Song in a Studio for Kids7 min read
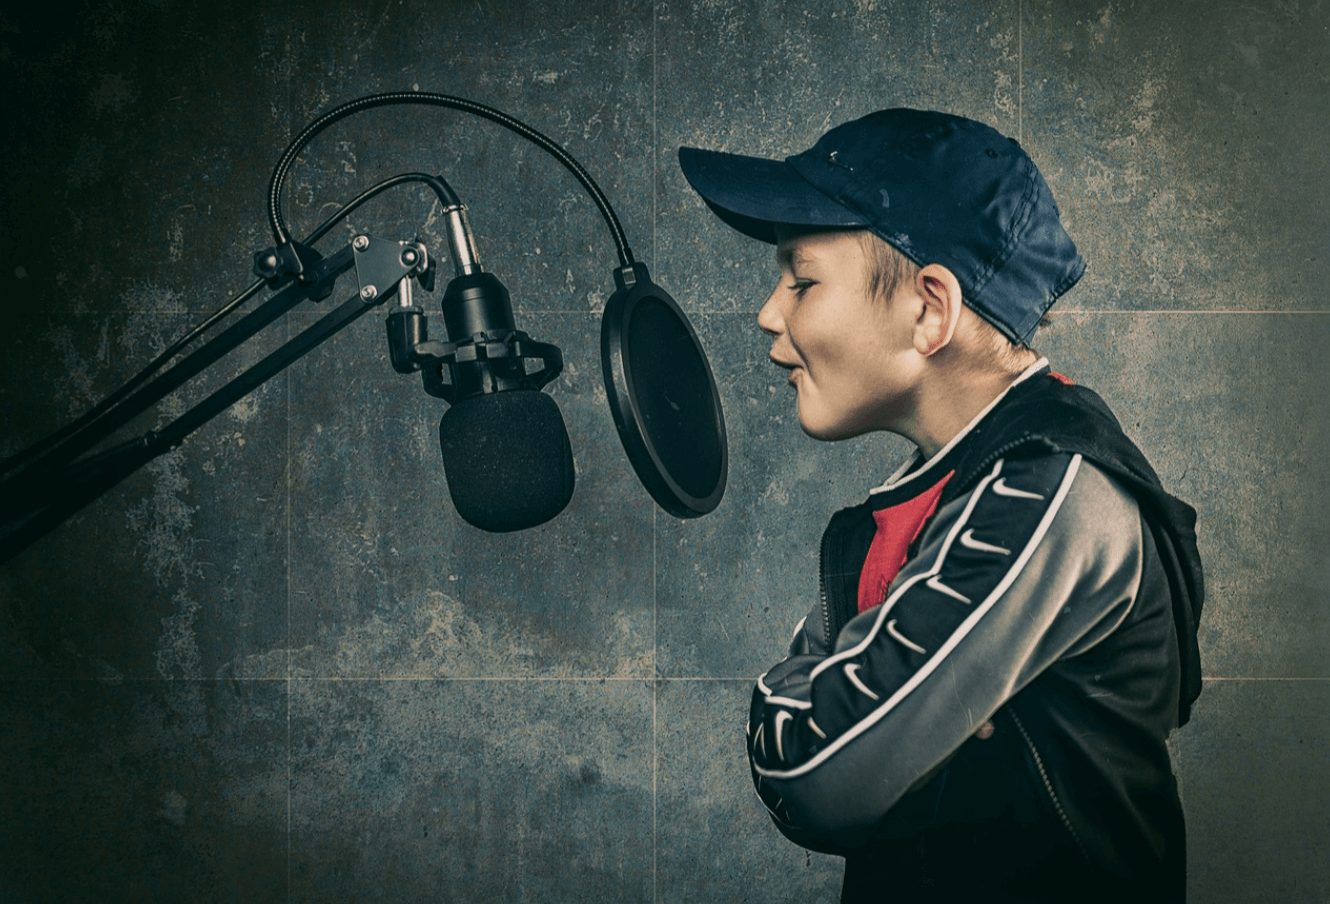
Are you wondering how to help your child record their first song in the studio at home? It doesn’t need a complicated arrangement with fancy tools and lots of cables or expensive gears.
All you need is a mic to sing, audio interface to convert the music into monitor, and speaker or headphones to listen to the music.
A studio recording will cost you way more, and when your kid wants a music production setup at home, you must let them have that as it will boost their confidence even more. And now, when it’s all about online streaming and reaching mass audiences, a good setup at home will come in handy.
And here is a guide to record your first song in a studio for kids.
Contents
Step 01: Get Equipped:
Before recording the first song, you need to get the studio ready for it. The following are a must-have in a beginner studio and these tools are even good for teenagers and adults to use who want to work from the comfort of their home.
1. Mircophones:
Make sure you get the best mics in the studio, whether you are recording vocals or instruments. It is crucial because your kid needs to understand how sounds act differently inside a studio.
For example, to record the sounds of a drum kit, you need to install mics for bass drums, snares, and cymbals. Consider getting some budget drum mics to record the sound accurately without creating noise. And your child will get to experience and distinguish the best sound quality and a poor one.
Furthermore, make sure you know the types of mics before actually buying one, as different ones work for different environments.
2. Audio interface:
You need to use an audio interface as it takes your recording to the next level. Audio interface takes in all the signals of your music and converts the signals so that it becomes readable for the computer.
After that, it will be easier for you to observe the different signals from guitars, mics, drums, keyboards, and vocals and learn where you want to change the sound.
You can find budget audio interfaces, for example, Presonus Studio 24c, Native Instruments Komplete Audio 6, or Focusrite Scarlett 2i2 Gen, under $100. Even if you are going for the cheap interface, it is worth it because your music will perform better than recording directly to the audio card of your pc.
Or you can install AudioBox Go which is easy, portable, and cute looking.
3. Speakers and headphones:
During editing and experimenting with the tunes or music you have recorded, you need good-quality speakers and headphones. Don’t you want to listen to your kid’s first song out loud?
Although you may get cheap speakers in the market, choosing Yamaha is a better choice for numerous bands. You will get one for your studio for under $100.
Headphones are necessary as while recording other instruments with the base track, you need to listen to the base and play along the harmonics or listen to the track and sing the song.
Step 2: Install a preferable DAW:
You are going to need a DAW, (aka Digital Audio Workstation) to record a song, edit and modify it to make it sound even better.
There are several music production software that are easy to understand and use. Although the premium version may cost more money, and you don’t need all the features for your kid, get them the lite or free version available. A few of them are:
Ableton Live Lite:
Although Ableton Lite offers less features, it makes it easier for kids to learn how to work with these websites. However, after a few months of practice, your child can even get his first live performance with a ‘session view’.
Garageband:
You can make music like a pro with this free DAW for Mac, as it offers a great deal of presets for guitars, session drummers, and a sound library full of instrumentals to practice. Your kid can record, play, and even share their performances with the world via this wonderful software.
LMMS:
LMMS is free and quick to access, with lots of community support and beginner-friendly features. It is free software for Mac, Windows, and Linux.
Step 03: Soundproof the Walls:
You can make a room dedicated to recording and call that your mini-studio. It is useful and convenient to use fabrics, acoustic panels, or foams on the walls and place rugs on the floor to prevent audio reflection and noise.
Step 04: Practice for the Performance
Most of the time, kids learn about music from their parents at first. Therefore, it is better that you introduce your kid to different types of instruments and music so that they can figure out what interests them the most.
You can also take a minute to learn how to help your kids to make music videos online. After that, practice more and more to write more expressive or emotional lyrics and play the instruments to rock the first song.
Step 05: Record the Song
Recording the musical instruments for the song can be a starter. You can help your children with guiding the steps, but let me handle all the work so that they can learn how to do it on their own.
However, before starting to record, test out all the channels and record a demo portion to check everything is working accordingly.
Start recording with the base track. It can be a guitar track followed by drums and other instruments. Base track is the beat or foundation of the song, using which you can arrange the other instrumental tracks and lyrics.
As the song demands, the base track flows with a specific tempo. You may suggest your children make the base track first or use any pre-recorded drums track.
When the base track is ready, play the pre-recorded instrumental and listen to it with the headphones, and record the rhythm section. Make sure you get headphones that do not cancel out noise fully, as your child will need to listen to what he is playing while listening to the base track.
After the rhythmic section comes the harmonics (background instrumental or vocal), it is better that all the instruments are recorded separately if your child is doing all these tasks alone, as it is easier this way to edit or cut out any unwanted part of the music.
Finally, record the melodies (lead guitar or lead vocals). You can mix the instruments all together and sing the melody, and record.
Step 06: Mixing the song
Now it’s time to mix the song, cut out the parts you don’t want in the final file, add more background tracks or fill with background vocals. The software we recommended in Step 2 would help in the process of mixing.
Make sure your kid has every separate recording organized and a clear plan on how they want to execute the song. Let their artistic talent come forward to make the music real and how they have been picturizing it in their mind.
Step 07: Listen to the Song
After the recording is done, tell your child to share their recording. It can be a family getting together or just you and your kid. Don’t try to get judgmental or give any negative reviews for their first recording. And share with your friends that your child is becoming a pro in music production.
Conclusion
Raising musicians can turn out to be an amazing journey for parents of teens with musical gifts when you know how to help nurture their talents. And to guide them to take the big steps for their musical career and set realistic expectations for the future.
And once you have everything to record your first song in a studio for kids, let them know that you are always there to support them grow in their journey and become the first audience to appreciate the efforts.
FAQ:
What age do kids start music?
Answer: By the age of 5, your kid can be ready to take formal musical lessons for instruments or vocals. Although as parents, you need to make sure that they don’t focus on their performances more or get competitive. The goal should be a better understanding of music as they grow up.
How to make music for kids?
Answer: If you are successful in finding a topic that kids find interesting, half of your work is done. After that, you need a fun melody, easy lyrics to tell the story, concise verses, and a repetitive chorus when you are making music for kids.
What do you record first when making a song?
Answer: You must prepare the foundation of the song at the beginning of your recording. And that would be the rhythm tracks as per the general rule. For example, start with the drums, and after that, brass and other instruments will follow along.


