How to Make an Edible Map with Crispy Rice Cereal?2 min read
Contents
Introduction
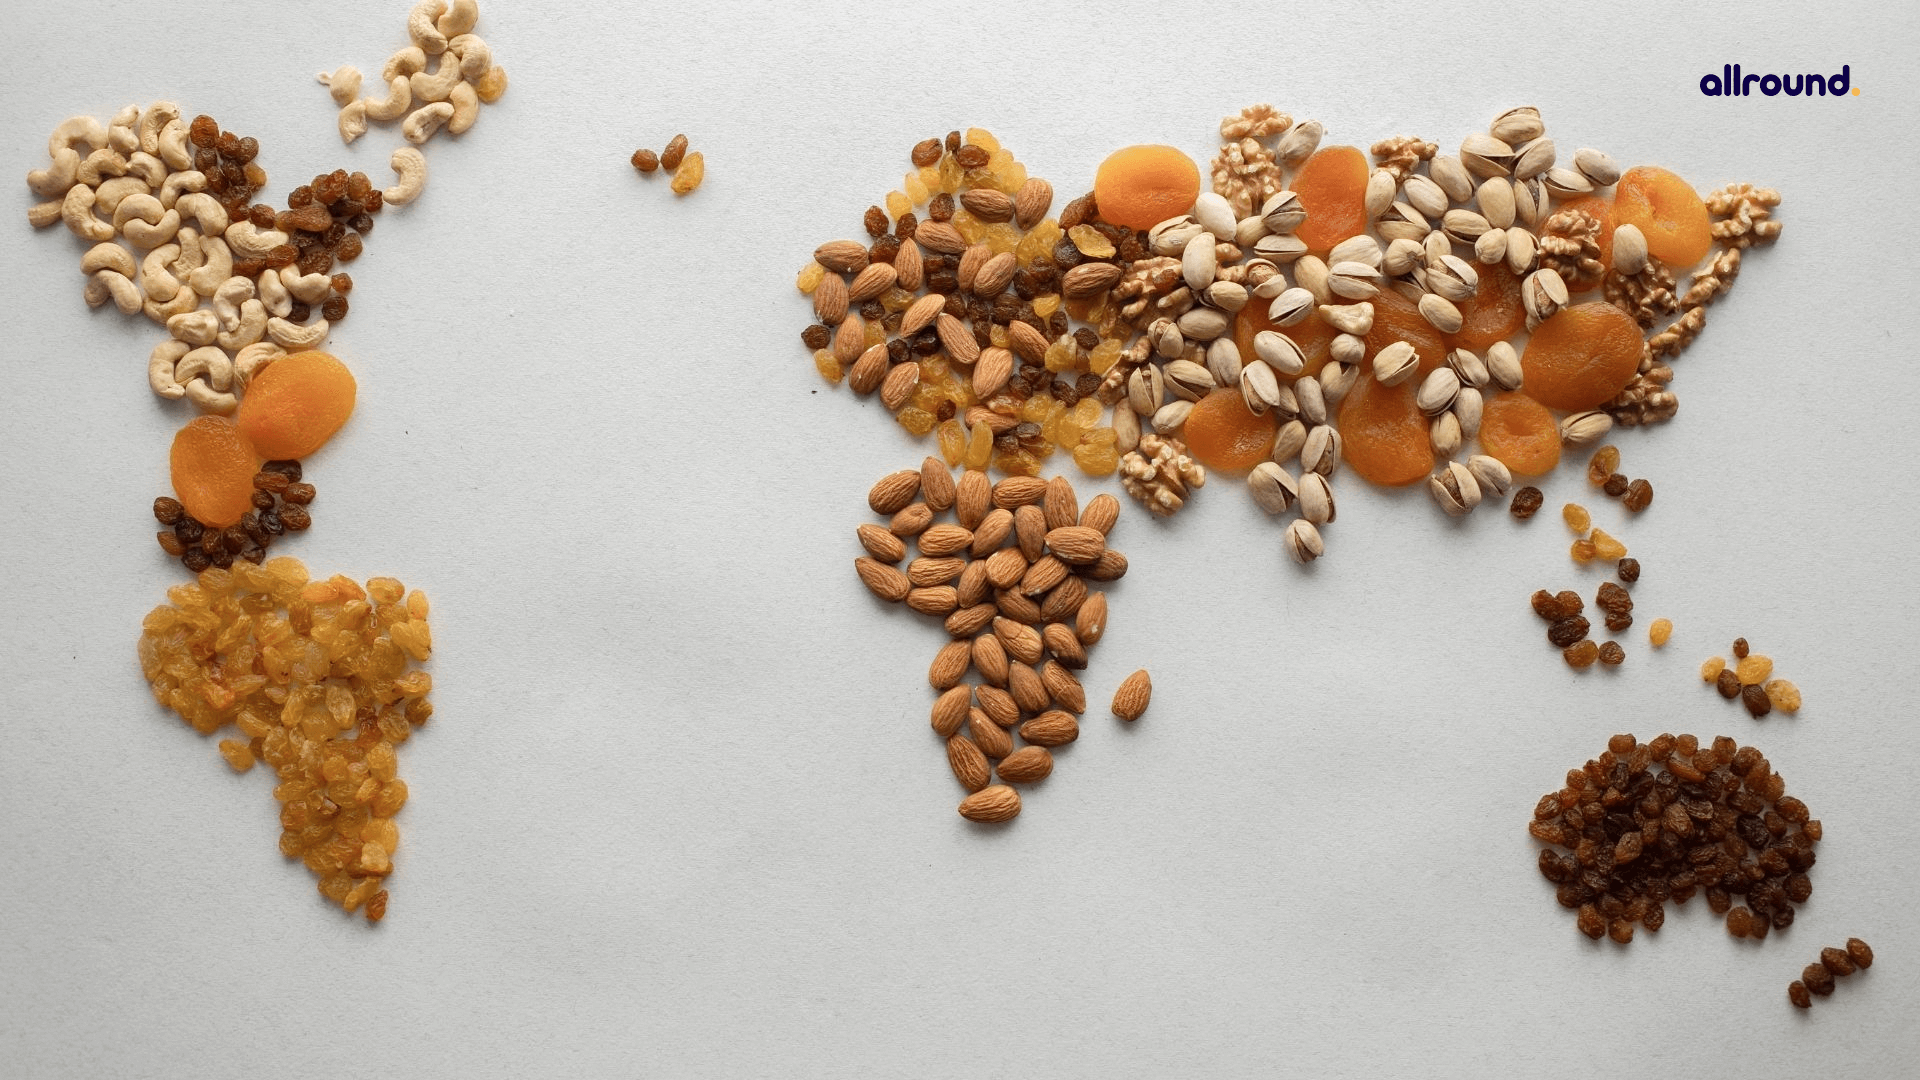
We’ll learn how to implement two of the most fantastic things – maps and food – to create unique maps that we can learn from and then consume in this article. Are you prepared to discover how to create an edible map? However, because homeschoolers are resourceful, we expect to incorporate a treat sheet into our learning activities with a little imagination.
What All Supplies Do We Need For Preparing Crispy Edible Continent Maps?
All you have to do now is gather all of the ingredients listed below ahead of time. Keep an eye out!
• 1 (10-ounce) package of large marshmallows OR 4 cups of miniature marshmallows
• 5 cups toasted rice cereal
• Large microwave-safe dish
• Large spoon
• Wax Paper
• Additional butter
• Cookie sheet
• Small baggie
• Physical maps of continents printed on paper
(we prefer to use Wonder Maps)
• M&M’s, chocolate chips, Vanilla Wafers, gel icing, etc.
• Tape
• Food colour
• Small paintbrush
• Candy decorations
(M&M’s, chocolate chips, Vanilla Wafers, gel icing, etc.)
How to Make Crispy Edible Continent Maps
Step 1: Make crunchy rice treats.
Microwave butter and marshmallows for 1 minute on HIGH in a microwave-safe bowl. Remove the lid and stir. Return to the microwave for another 20-30 seconds, or until completely melted. Stir in the cereal quickly until all of the pieces are uniformly covered.
On a cookie sheet, place a piece of wax paper. Coat the wax paper with a small amount of butter using the baggie as a “glove.” Place the cereal/marshmallow mixture on a sheet of buttered wax paper. We lightly squeezed the mixture together to produce a thin film, but we didn’t press it too hard.
Step 2: Make crispy treat maps with your hands.
On a table or countertop, place a printed continent map. Take a piece of wax paper to fit the map’s dimensions. Tape the wax paper to the level surface on top of the map. Rub a small amount of butter on the wax paper, across the continent shape, with the same baggie.
Place crispy treat mix on wax paper with the baggie still in your hand, moulding it to cover the continent outline.
Step 3: To symbolise landscapes, decorate with sweets.
We’ve included a list of optional materials that you should absolutely test out while creating your edible map.
• Blue gel icing for lakes and rivers
• Chocolate chunks for mountains
• Vanilla Wafers Crushed for Desserts
• Mini M&Ms to represent key cities
• To represent grasslands, add green food colouring with a few drops of water. (You can even “paint” the food colouring into your maps using any little fresh paintbrush.)
Take photos of your creation before eating!
Hands-on map activities allow kids to spend a little more time looking at elements like landforms and landscapes that distinguish each continent. Including a few tempting goodies will make your child’s learning experience much more enjoyable.


