How to draw a side profile?3 min read
Contents
Introduction
If you wish to learn how to draw a face in a profile, then remember that it comes with challenges. In addition to that, comes the share of possible missteps. Therefore to help you out we’ll try to share lots of methods to make your picture even more valuable.
As a young artist, you might have made the mistake of thinking that a profile of a face is drawn on a straight line. Though the fact is that everyone’s face is a bit different of course. And there does need to be a gentle round curve near the area of the forehead, nose and chin. Don’t worry, the shape isn’t as round as a circle, but a slight one that the features all kind of follow.
Materials Required
-
Pencil
Choose the pencil that has a high HB grade. It will help you to make nice dark lines when you need them and are the easiest to erase. Buying pre-sharpened ones, then it will further save a lot of time.
-
Eraser
Having larger ones will let you work with ease. Furthermore, they are easy to hold and do a much better job than just the pencil tip erasers. This Happens especially when erasing leftover pencil lines after tracing.
-
Black Sharpie Marker
Such fine permanent markers make nice black lines. They have a good tip for coloring and also never bleed when they get wet. If you use them with good ventilation and add extra paper underneath to protect your tables, then it will help you to have a better picture.
-
Crayons
Crayons have a range of much better shades. Also, they are easy to use and apply.
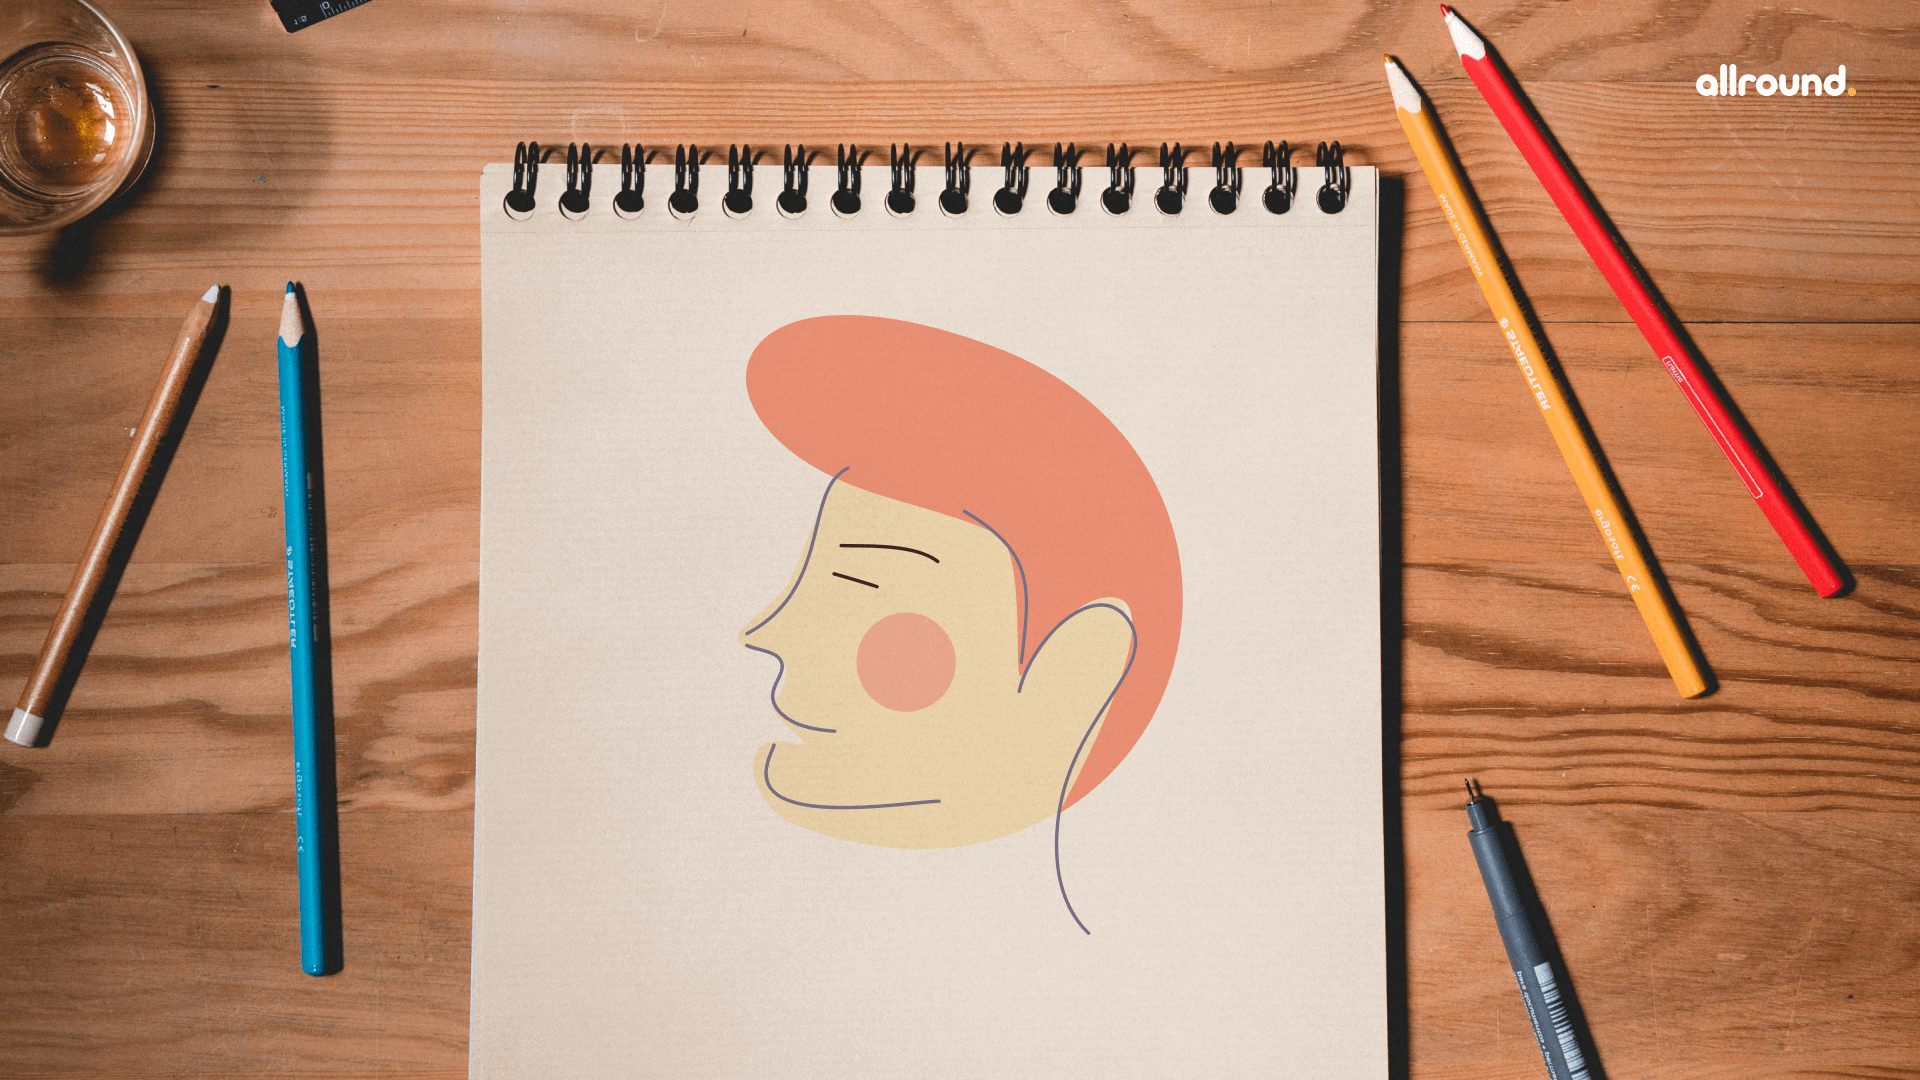
How to draw a side profile
In the picture shown above, you might have observed 9 steps to draw a portrait. We’ll follow these 9 steps one by one and try to make our portrait look good!
- You might have tried to draw your profile in a straight line. But always remember that it is the most common mistake while drawing and you need to avoid this mistake. In reality, you need to have a curve.
- Fold the paper so that you get creases to use as guides. Try to begin with the forehead and eye and proceed with the other areas as well.
- Now you need to add a curve for the nose.
- Keep following the previous pattern and later continue down with the lips and chin.
- Add details to the neck region and add lips.
- Now time to add the eyes and eyebrows
- Further, add the ear and jawline
- Once you are done with the previous step, draw the hair as needed around the head.
- In the end, all that you need to do is just trace a picture with a marker and color it.
Conclusion
Your kids can definitely draw a guide like the one shown in this article. Nevertheless, it will help them get everyone off along with a good start. This way they’ll be able to focus on placing all those features in all the right places.
You might guide them sometimes, for instance, while they are drawing something for the first time. Or you can also help your little ones to gain confidence in their skills.