How to draw a self portrait?4 min read
Contents
Introduction
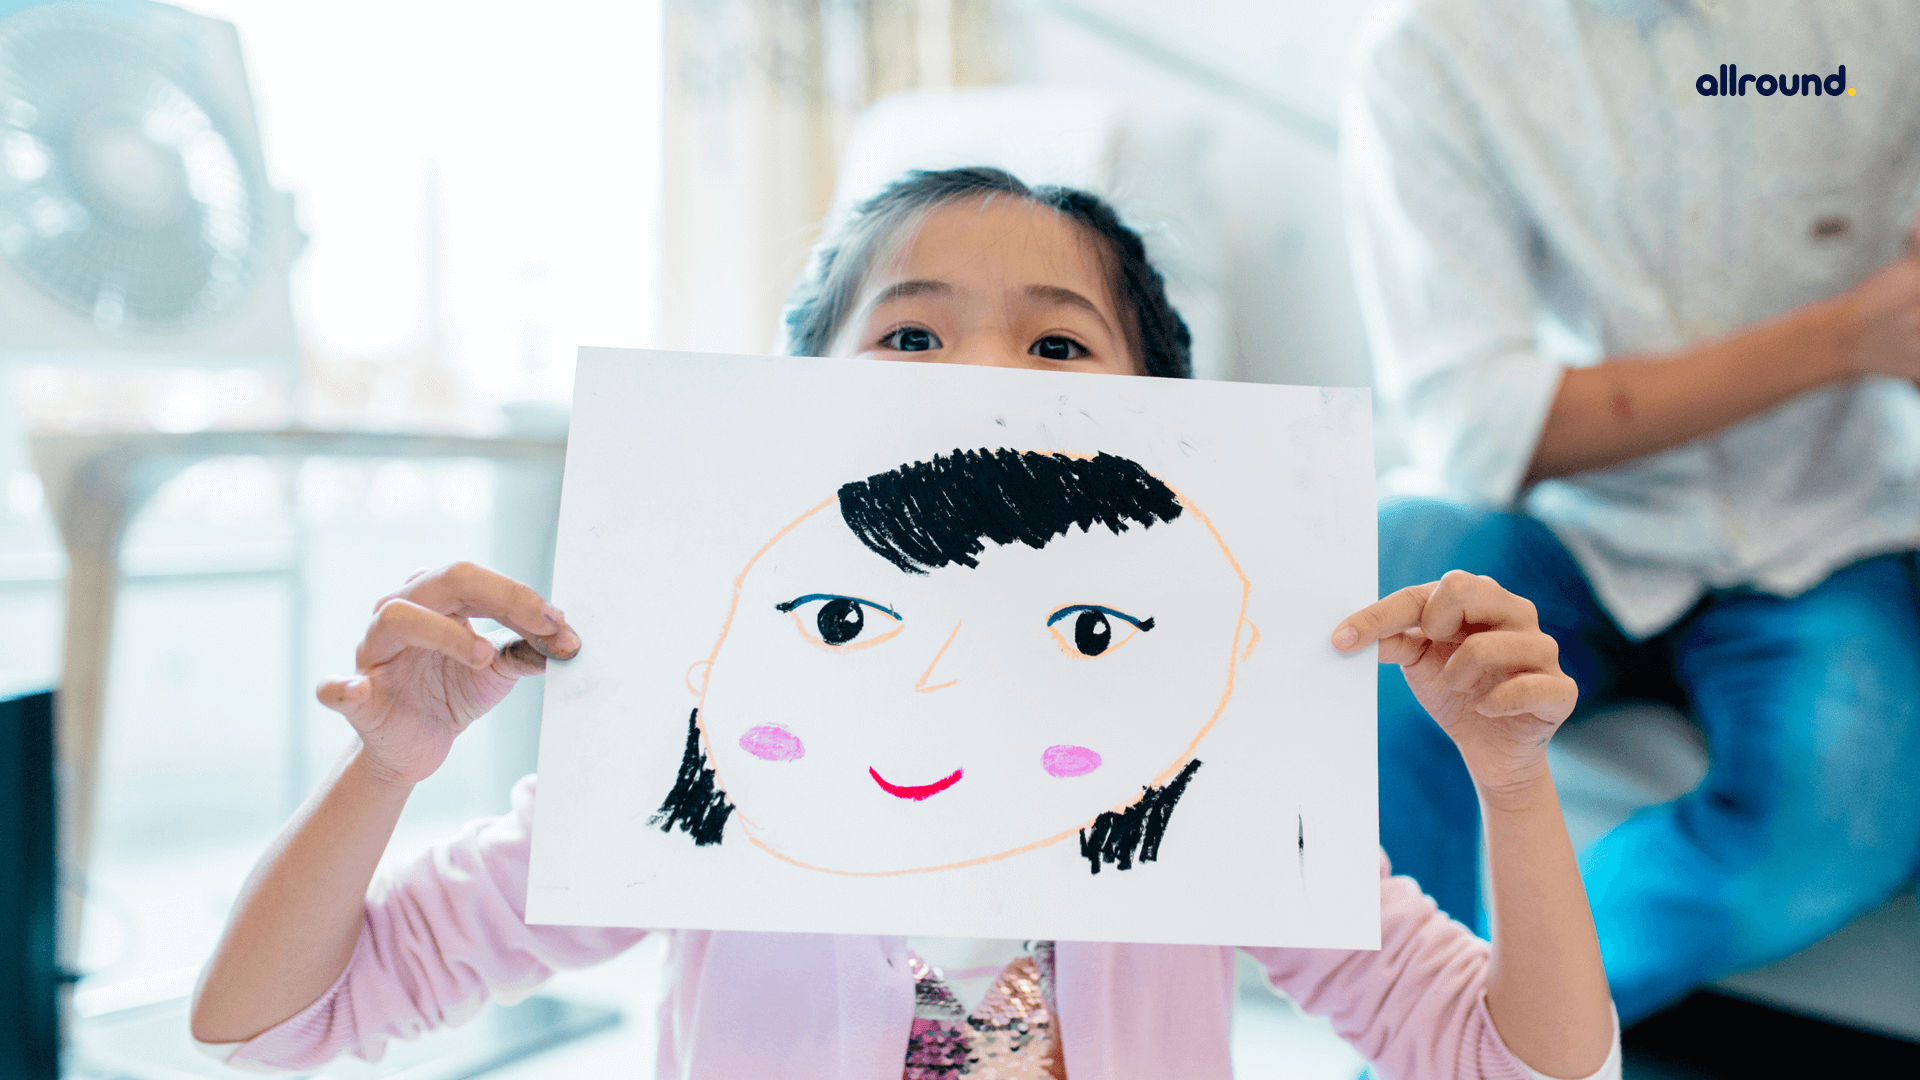
Are you looking for some cool ways to make it easy for your kids who are new to drawing to make a self-portrait? Worry not as we have the solution to your query! In reality, it isn’t necessary for you to have any type of drawing experience to get interesting results. And what other way are you looking for, than a self-portrait to share a little bit more about yourself with others?
Who is this self-portrait project for?
This instruction guide is for those little children who are still learning how to sketch a head on a body, and where to place the facial features. They will definitely do better if they choose simpler self-portrait projects.
Such students tend to grab the concepts in a more systematic way when compared to adults. At such a young stage, they have a strong capability of capturing cognitive images faster.
Working with Drawing Guides
If you really wish to look for the best way to get your child to develop a good start to any drawing project, then you can do that with the help of drawing guides.
Here in this picture, you might have noticed that there is a grid of three dashed lines, both in the horizontal and vertical direction, on every step of this guide.
In case, your children make their own centered lines on their own paper, before drawing, they will have an easy reference to follow.
Creative skills teach us all about getting the size and placement of lines on paper. Therefore, it becomes important for us to have some visual reference point to get started. This will always help you to learn how to be a little more accurate.
But before beginning, we have a question for you. Do you really think that you need to draw big fat pencil lines on your white paper before starting? Goodness no, please don’t think that way!
If that was the case, then you might have been likely to sit there and find it hard to erase and distract from any finished art.
All that you need to do is simply fold the paper in half twice, both ways, make a crease, and unfold.
One amazing thing why we are doing this is that by the time the drawing is done and colored in, the creases will disappear.
Materials that you may require
Before you start, it is very important to gather all the essential material beforehand and then start off with your work.
- Pencil- Try to look for a pencil that must have a higher HB grade. As it will help you to make the lines more clean and tidy.
- Eraser- Whichever eraser you choose, just make sure that it must be large enough so that you don’t find any problem erasing any part while drawing.
- Black sharpie marker- Once you are done with the sketching part, you need to use a good black marker in order to give your portrait a fine look at the end.
- Colors- It is completely optional for you to color your portrait or not. Many artists don’t prefer to color their portraits. But everybody has different choices. If you feel confident enough to color your picture beautifully, then why not! Go for it!
How to make your self-portrait?
It is very important to note down all the proportions of the face before starting off. You need to take care of many things as a beginner. And gradually over time, you’ll be able to memorize all the important tips that you go for before making your self portrait.
Here we have a list of 9 basic steps that you can follow for making an amazing portrait of yourself!
- Just begin by making a circle. Make sure not to give it the shape of a complete circle. An oval shape is recommended.
Then Simple add some more curves to your oval in order to give it the shape of a chin. Erase the bottom part of your oval. - Now you need to make the grids vertical as well as one horizontal line that must be symmetrical to the other part.
Don’t forget to add basic eyes to your portrait at this step. - Now that you have already made the circles for your eyes portion, draw a curved line above it. These will give your eyes the shape of eyebrows. At an approximate distance of ½ way, draw the nose part. It must be mid way between the eyes and the chin.
- Make mouth line halfway between the nose and the chin.
- Add eyelids to your eyes and further add detailing to your lip region.
- Make the neck region just below the chin. Once you are done with this, design your hair by joining two fine lines.
- After this, make the shirt/top curves. And modify the hairstyle in whichever way you feel like.
- You need to add more details for your hair region. Hair region varies from one person to another. Therefore, you’ll have to find out your perfect match!
- Extend your hair in a specific way, like the way you actually do. And guess what! There you are! With your self portrait.