How To Draw A Room From One Point Perspective?4 min read
All of us must have heard about drawing a room. Even if I say you draw a house or villa, it might sound accessible to you as we have been drawing it since childhood. Kids also learn to make a house and a room from the beginning stage of their studies. In the beginning years of arts and crafts, kids learn the proper way to draw a house and the details such as windows and doors. But have you ever heard about drawing a room from one point of view? If not, then you are at the right spot. Today we will teach you how to make a room from one point of view easily. Also so your kids will learn details about multiple realistic-looking three-dimensional craft activities. So it’s time to pull up your socks and grab your pencil and colors to make a room with a one-point perspective. Don’t forget to call your child and assist you during the whole craft activity, as they need to learn a handful of things.
Contents
Materials Required
So these are some of the materials that you need to bring
- Drawing Paper
- Black Marker
- Crayons and pencil
Drawing Guide
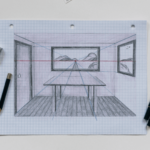
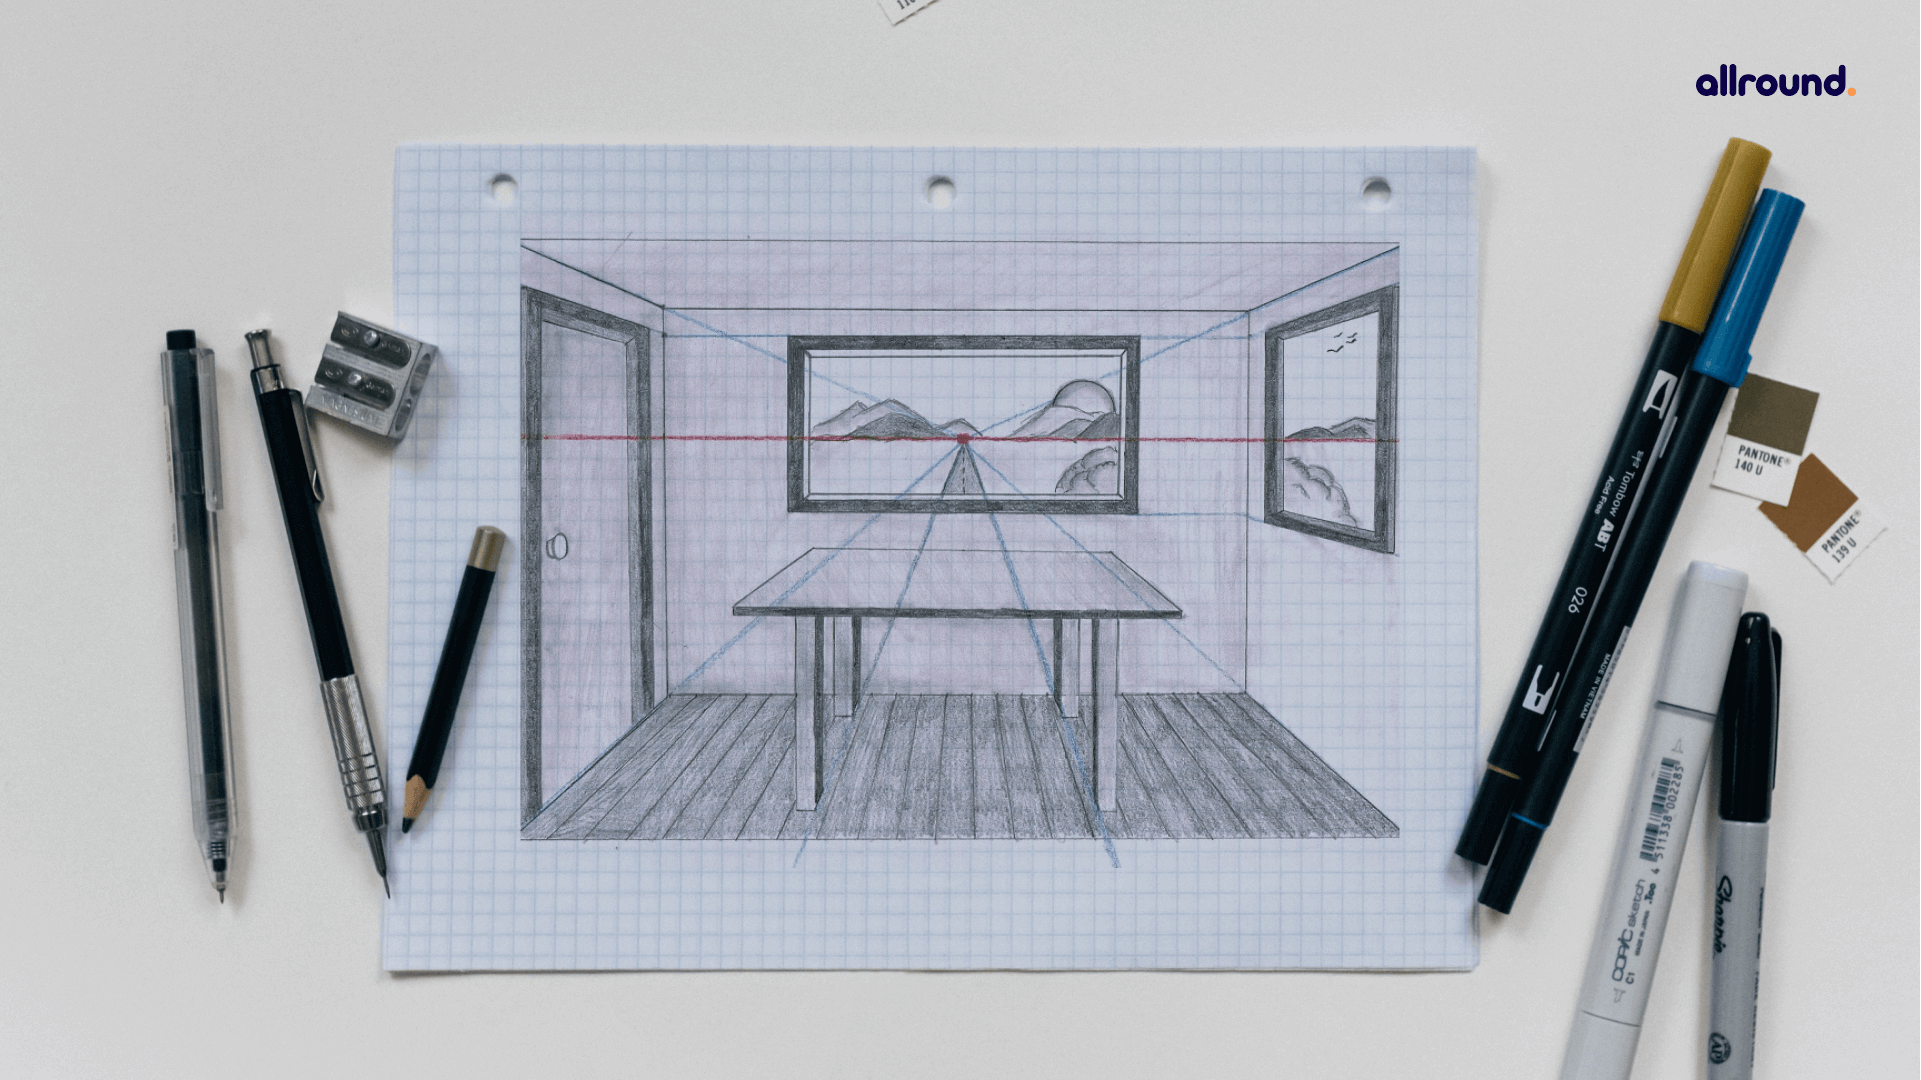
One factor viewpoint can be as dramatic as teaching tracks converging in the distance or subtly displaying a barely straight row of bushes or crew of people. In this tutorial, the instance is a comfortable room with a door and windows. The view backyard helps set up the horizon line, and the vanishing factor is, so college students can see the place where all the parallel strains converge.
Older students love to analyze how to make drawings appear extra-dimensional. Hence, a lesson from a one-factor point of view is an accurate way to train them in some new concepts. The sole trap is that these drawings commonly work first-class when some information is in the vicinity earlier than getting started.
Steps Required to Draw?
Here are some steps needed to follow to make a room
Step 1: To commence your room in one-factor perspective, using a pencil and a ruler, gently make an X via connecting the proper pinnacle nook to the left backside nook of your paper and utilizing connecting the pinnacle left nook to the backside right.
Step 2: Using pencil and ruler, gently make a rectangle on the X. Be positive to make the vertical strains and horizontal strains of the rectangle parallel to the facets of the paper.
Step 3: Now, we will make a mild, direct line from the left lower back nook of the room to the right front corner. Draw this gently with a pencil and use the ruler. This will be a “guideline” on including tiles or boards for your floor.
Step 4: Next, using the pencil and ruler, gently draw indirect strains from the middle of the X (called the vanishing point) to the front of the ground, which is at the backside of the paper. These strains will be flooring tiles, so you can area them as you choose; they should also be boards for a wood floor.
Step 5: Now, you can make tiles to use the remaining traces you brought in Step three and four. Lay the ruler parallel to the backside of the paper and make a horizontal line throughout on the room’s ground. Again, the guiding principle meets the first indirect line.
Step 6: Continue including the horizontal strains till the tile ground is created.
Step 7: Now, we will add a window and a door. Start utilizing determining how tall the window and the door ought to be. Start these by making a vertical line on the two receding walls.
Step 8: Continue the door by connecting the pinnacle of the doorway to the vanishing point. Continue the window with the aid of connecting the window to the vanishing point.
Step 9: Complete the window and door by using including a vertical line for the again edges. These vertical strains will be parallel with the front edges.
Step 10: Complete the room using a rectangle window in the center of the room and erase all connecting (converging) traces that are no longer necessary. Finish by including furnishings and shading and your innovative personal touches!
So these were the easy steps that you need to ask your kid to follow if they want to make a one-point perspective room. Making a room sounds accessible to all of us but let’s see if your kid can make room for one-point perspective.
Final Words
This time we have taught you something extra and something new. Most teachers teach kids about how we can make two-dimensional images. Furthermore, they never help kids in creating the three-dimensional world. When your kid learns how to make 3D images, they automatically start imagining their world and get better output. So always guide and motivate your kid to learn something new and compelling.