Learn to Draw a Monster: Frankenstein5 min read
With Halloween around the corner, everyone might be excited to get spooky and put all their creative ideas into settling for a Halloween theme. While carving the pumpkins and planning out costumes for the big day may not be enough for everybody, especially children who can’t get enough of this colorful and spine-chilling occasion need something more to state their curiosity.
One of the most revered characters that come out in this season is Frankenstein’s monster. As opposed to being wrongly named Frankenstein, the doctor’s name who created him different sewing parts of the deceased ones together and bringing them to life. Although the monster is perceived as abominable, despicable by books and several films, this character is revered by many children. It is one of the named ones when dressing up for a Halloween costume party.
One of the best stimulating activities that can be done while keeping the craze of Frankenstein alive is coloring or drawing him from scratch.
This guide will serve its objective in helping the children draw this adorable character by hand and help the parents draw its outline so that younger children will find joy coloring it with the wildest combinations that no artist could even imagine.
Contents
Materials for a Frankenstein Drawing
- Pencil: The Ticonderoga brand is recommended as they are dark enough to craft the best lines that are the fundamentals of artwork. Still, they are easy to erase, hence reducing the ease of cleaning up the guidelines later.
- Eraser: A good eraser and comfortable size to hold in hand is the following valuable tool for any sketch as wrong, or preliminary sketch may leave unwanted marks and shades, degrading the piece’s beauty.
- Black Sharpie Marker: This fine point permanent marker does wonder when drawing the final outlines and making the drawing pop out. Make sure you don’t go for cheap out on this, as the bad ones can bleed and destroy the finesse.
- Prang Crayons: These are softer than other crayons, so when you colored your Frankenstein with this, it looks like you have colored with oil pastels. They also have some attractive brown shades that Crayola does not have unless you buy their larger boxes.
- Crayola Crayons: The reliable brand that always works well. The 24 pack has some of my favorite golden orange and yellow colors that seem a bit richer and warmer than the ones Prang has.
Start with Drawing Guide
Guidelines are the skeletal framework of any character design or drawing. It helps figure out the proportions of each feature of your character. Those proportions help breathe life into the character and make them more than just a drawing.
The essential prerequisite before the drawing is the referential horizontal and vertical line. So, in this tutorial, all the ones attempting this feat must draw your referential lines lightly, say x-axis (the horizontal one) and y-axis (the vertical one). These axis names will be used further for ease of understanding during the drawing process.
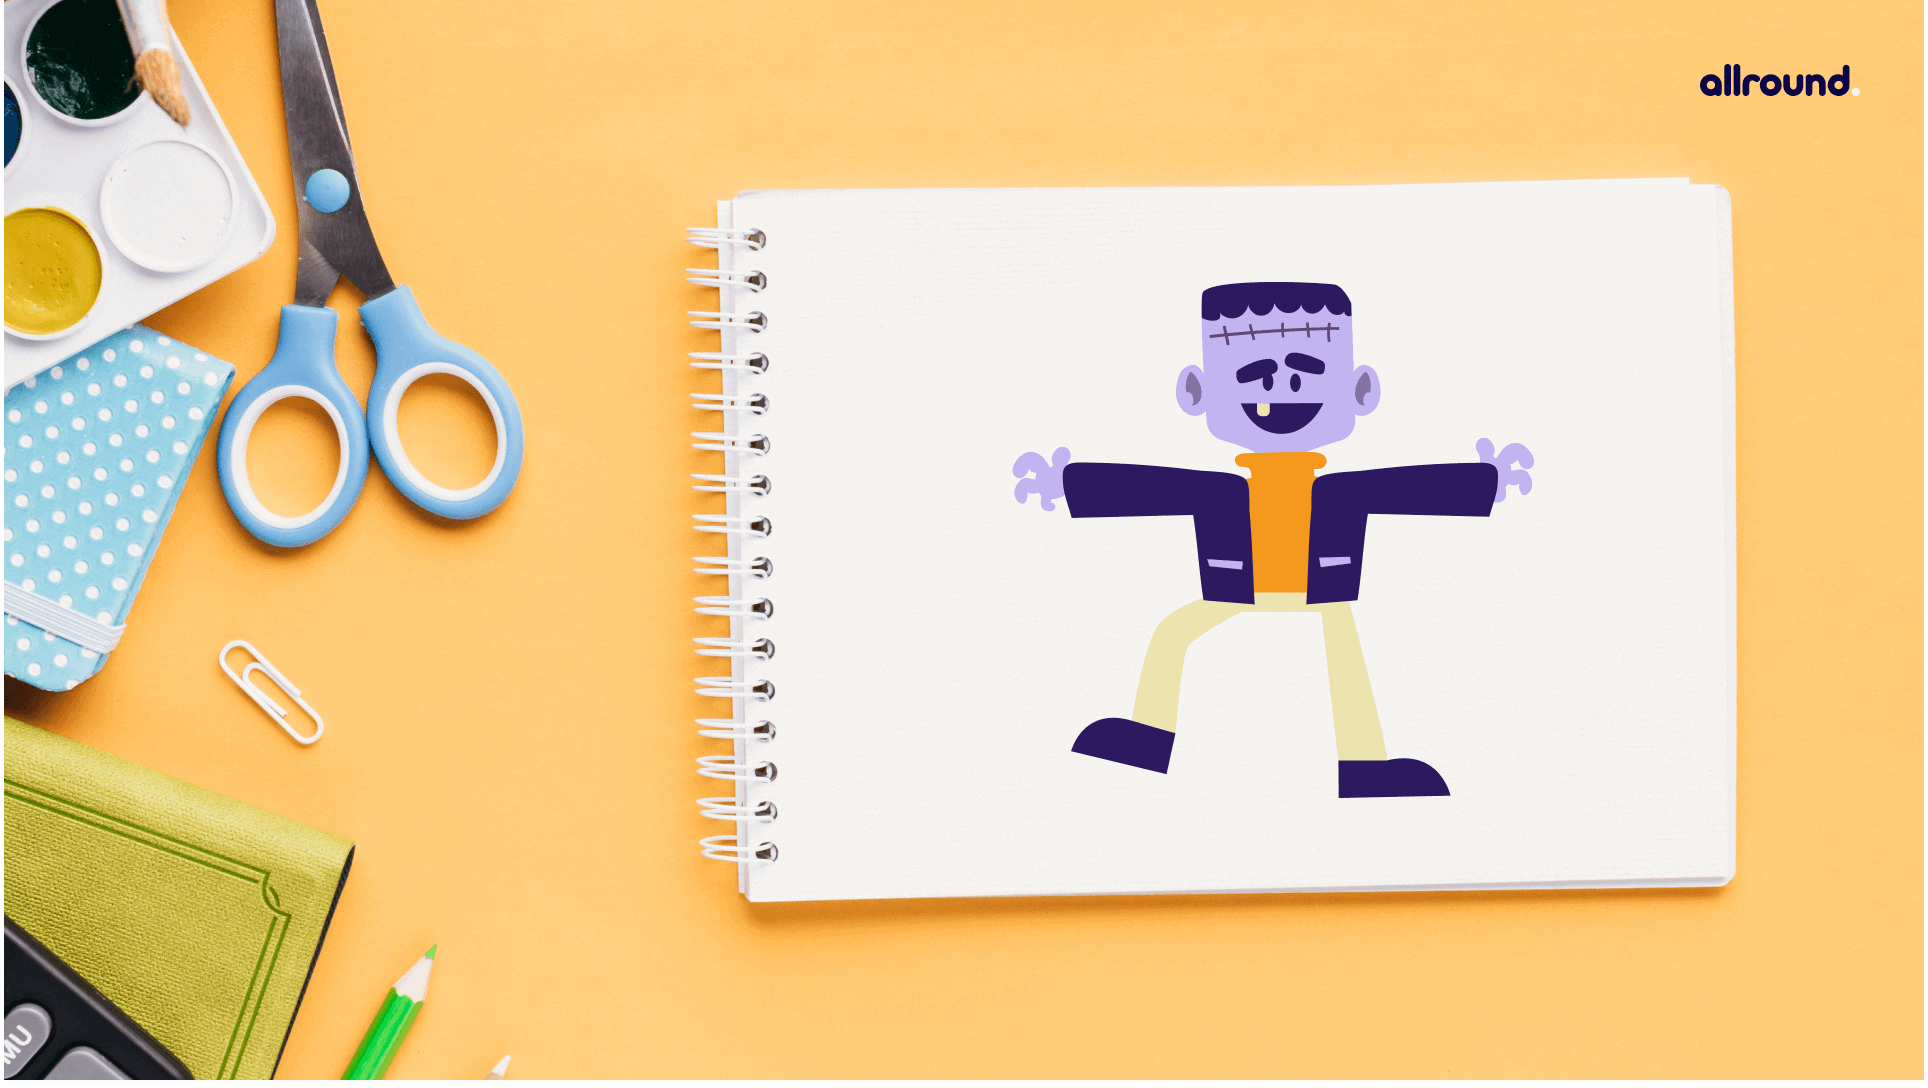
So, let us take an example of Frankenstein’s monster itself; see the image given below.
In Step 1, the process to sketch a Frankenstein’s monster starts with ahead and that iconic zig-zag haircut on the paper, halfway above the x-axis.
X-axis and Y-axis are not the most onerous terms to understand, but throughout this guide for the horizontal line, we will use the x-axis. We will use the y-axis as a reference for the vertical line to maintain pace with the basic idea. One does not need to search or learn deeper about these lines and the Cartesian plane.
So, moving ahead with the first Step’s explanation, you need to sketch accordingly so that waist of a Frankenstein’s monster can lie on the middle line, so one. Lines always help students see the placement of objects more precisely.
Drawing is something if students have a good start, then there could be more chances for them to feel the successful completion of the sketch they have worked on.
Modeling, drawing, tracing skills are about getting the size and placement of axes on paper. As mentioned above, reference points can help the student start the drawing process and then reach its ends without any difficulties. Moreover, help anyone, either beginner or expertise to learn how they can be more accurate.
Now many of us might be wondering how thick and dark should the lines be, and isn’t it thicker the better? Unfortunately, the answer is NO; not only will the lines be hard to erase, but it will also leave stray lines and poor attempts at erasing gradients on the finished product. So instead, they fold the paper once through the x-axis, one from the y-axis, just like the crease we make while ironing our clothes, and then unfold your paper. But make sure when you fold the paper, it should be half both ways.
Not to fret, as these creases will slowly fade away with time as you press against the paper to draw or color continuously.
Now that you are ready with the basics of drawing and setting the proportions for a character, we shall now begin drawing Frankenstein’s Monster.
Before you proceed further down the guide, do check the steps given in the images. Also, use the link mentioned below to color Frankenstein’s monster according to your color palette and creativity. Why don’t you color Frankenstein’s monster, according to your one like: What if you have a Frankenstein’s monster?
Directions to Draw the Frankenstein’s Monster Step by Step
Time is essential to all of us. So, one might assume that this adventure may take a lot of it, but surprise! You only need 45-50 minutes. So, isn’t that a win-win situation?
Hurrah! finally reached the step part to draw the Frankenstein’s monster:
- Draw a large and broad U with a flat top. Make the corners a bit more rounded.
- Draw the hair and one long brow line.
- Start sketching the eye shapes underneath the brow line.
- Add the inside eyes, nose, and mouth shapes.
- Draw two ears near the hairline.
- Now, add two screw shapes to the side of the head.
- Draw the shoulders and the jacket collar below the head.
- Finish the coat and add some stitch lines.
- Outline the drawing with a marker and color with crayons.


