How To Draw A Fairy?5 min read
Does your kid too love to watch fairy tales and its series? I think the answer is yes, as every kid, especially girls, have a specific place for fairy tales. They love to listen to fairy tales, watch fairy tales, and even act as the characters of fairy tales. So if your kid is a fairy tale lover, it’s the time to engage them in a fun and productive activity. Today we have brought a great craft activity where we will teach you how to draw a fairy. So get ready to learn something productive with your kid and polish your creativity. So grab your pencil and colours, ask your child to assist you and let us begin to learn how to make a fairy.
Contents
Drawing Guide
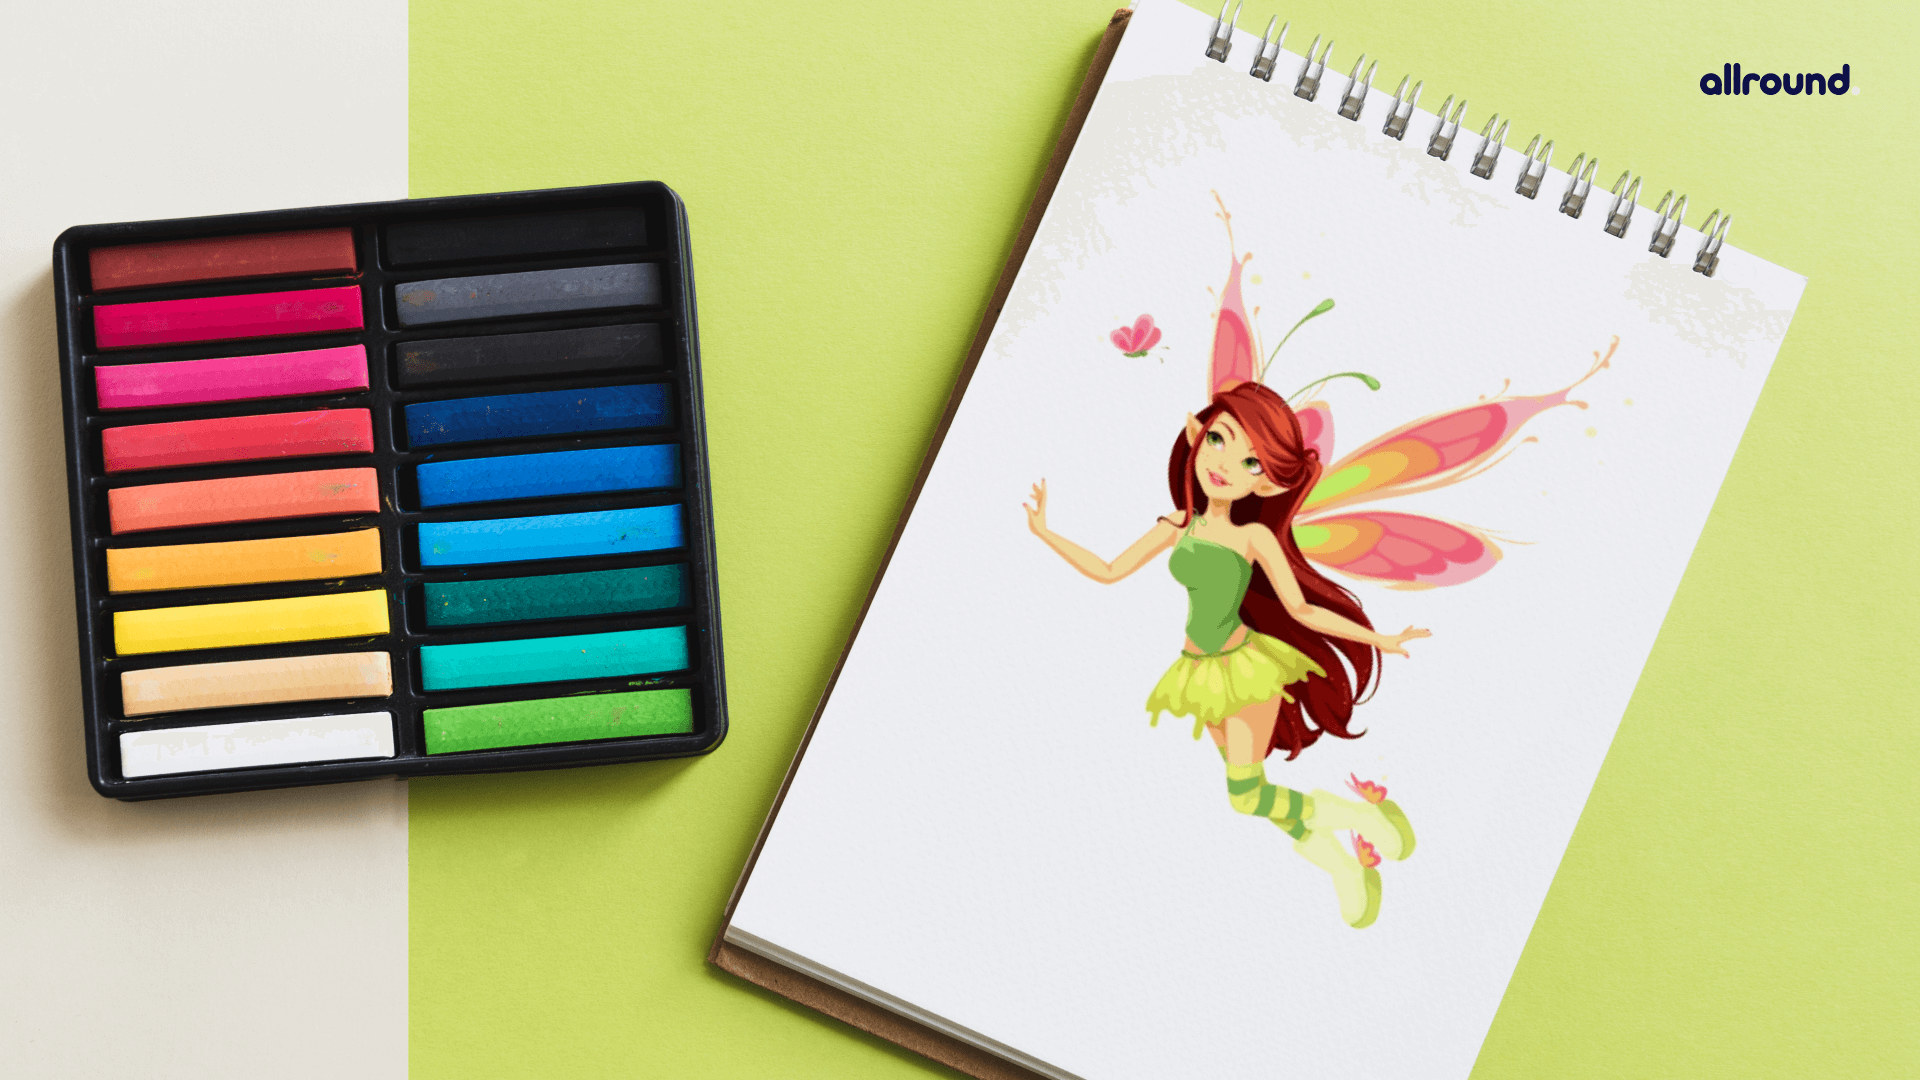
One definition of a fairy is a legendary creature that commonly has a tiny human structure and magical powers. That leaves a lot of alternatives for what one certainly appears like; however, many films and storybooks have happily given us loads of thoughts to fill in the blanks. This tutorial suggests how to draw a fairy that appears as it walks off a Disney set because hey, especially wings and petal-inspired garments, are enjoyable to draw. However, after that, the hair and colouring can be anything one needs their fairy to be.
How to draw a Fairy?
Here are the steps to make a fairy
- Start by structure
Starting in the centre of your paper, draw an irregular circle structure to define the face. The structure of the face ought to have an increased size than width.
- Draw the outer face
Then, proper beneath the face, draw two curved traces for the neck. Extend the traces to create the definition of the shoulder to the fingers and hands. The fingers have to be aligned and drawn evenly.
- Design the top
Now, it’s time to provide this fairy with an adorable top. First, draw two vertical lines, every beginning from the underarm. Then, join each end of the line collectively with a horizontal line at the bottom. When drawn correctly, it has to appear like a cropped bandeau top.
- Design the bottom skirt
Now that we have drawn the top, it’s time to draw the skirt to finalize the garments of your fairy drawing. Below the top, draw a skirt with a couple of curves down the hem. You can draw the skirt in any shape you prefer to personalize it. You can even add patterns and designs to it to make it more excellent and creative!
- Add layers to skirt
Right below the first layer of the skirt, draw a 2d layer with the comparable form. This time, however, the 2d layer has to be barely higher than the first one. This will create a fashionable flowing skirt!
- Draw the legs
Draw a pair of legs under the skirt. Make positive that the legs are aligned and drawn evenly. Also, don’t forget to add details to the legs.
- Make the hair
Draw a hairline simply above the forehead. Then, draw a wavy strand of hair down to the fairy’s lower back. You can draw your style of hair, but they must look beautiful. Don’t hesitate to draw the hair in any fashion you prefer! For example, you can make the fairy have. You can even draw the hair in a ponytail or a bun. It’s all up to you!
- Add beautiful wings
Draw a pair of wings at the lower back of the fairy. A fairy’s wings are commonly enormous, so make sure that the wings you draw extend from the head down to the legs. Fairies’ wings come in a wide variety of shapes and sizes. Some wings are formed like a butterfly’s wings, whilst some are fashioned like a dragonfly’s wings. Draw whichever structure you assume would seem to be fine on your drawing! Whatever you choose, we’re positive it appears fantastic!
- Design Shapes and patterns in wings
Now that we have completed drawing the definition of the wings, the subsequent step is to format the wings to make them appear even prettier! Draw more than a few shapes and patterns inside the wings. Let your creativeness and creativity take the lead when styling the wings!
- Add details of the face
As you can see, we’re nearly done! Now, it’s time to draw the fairy’s facial elements to eventually whole the look! Going again to define the face, draw a pair of arched eyebrows with two eyes proper underneath. Draw some other tiny circles inside the eyes and colouration the wide eyes whilst leaving the tiny circle interior unshaded. Don’t forget to add eyelashes for a more excellent appropriate look! Then, at the backside of the face, simply above the chin, draw an upward curve to make the fairy appear like she’s joyful and smiling widely.
- Fill colours
Finally, right here is the most exciting part—filling in the colourations for your first-rate drawing! This is the phase where you can exhibit your creative abilities and potential to combine and shape several colours.
Fairies are believed to have inexperienced or blue skin. There are additional variations in the colouration of their clothing. In common folklore, fairies are frequently depicted sporting inexperienced clothing. In present-day fiction, on the other hand, they usually put on crimson or red clothing. Feel free to colour your fairy drawing alternatively you like and use any colour combinations you prefer.
So these were the steps by steps indications of how you can make a fairy.
Fairies are every child’s favourite, but today the fairy drawing thanks taught your kid many positive skills that will be helpful in future.
Final Words
Learning how to draw a fairy is just a medium to help your child grow more and learn more. Unknowingly, your kid has learnt a handful of skills such as motor skills, social skills, cognitive skills and so on. At the same time, performing such activities, many new skills also are highly crucial in the whole life. But apart from it do you know what else you have got? You have got some quality time to spend with your child, and these happy moments are countless!