How to Draw a Cherry?3 min read
Do your children love cherries? We sure do! Did you know that cherry is not only a super yummy fruit but also extremely good for health? Cherries are packed with flavor as well as vitamin C and B complex, potassium and melatonin! They benefit your health in numerous ways including preventing diseases like cancer and heart disease, and also provide pain relief.
If your kids haven’t tried cherries yet, they absolutely need to! While you educate your children about cherries and their characteristics, help them to learn how to draw a cherry too.
We have a very easy step-by-step tutorial ready for you. Let’s get right to it.
Contents
What materials are required to draw a cherry?
You’ll need very elementary supplies for your cherry drawing. They include:
- Pencil
- Eraser
- Drawing paper
- Black marker/sketch pen
- Crayons/color pencils
Yes, that’s pretty much it! If you have a bowl of cherries ready while you sit to draw with your kids then we’d definitely say that’s a bonus! Looking at a live object and trying to replicate its beauty brings another level of fun to art and drawing projects.
How long will it take you to draw a cherry?
This one shouldn’t take you much time at all! We don’t think it would take your kids more than 30 to 40 minutes to draw a cherry. We’d encourage you to join them in this art project! Let’s begin.
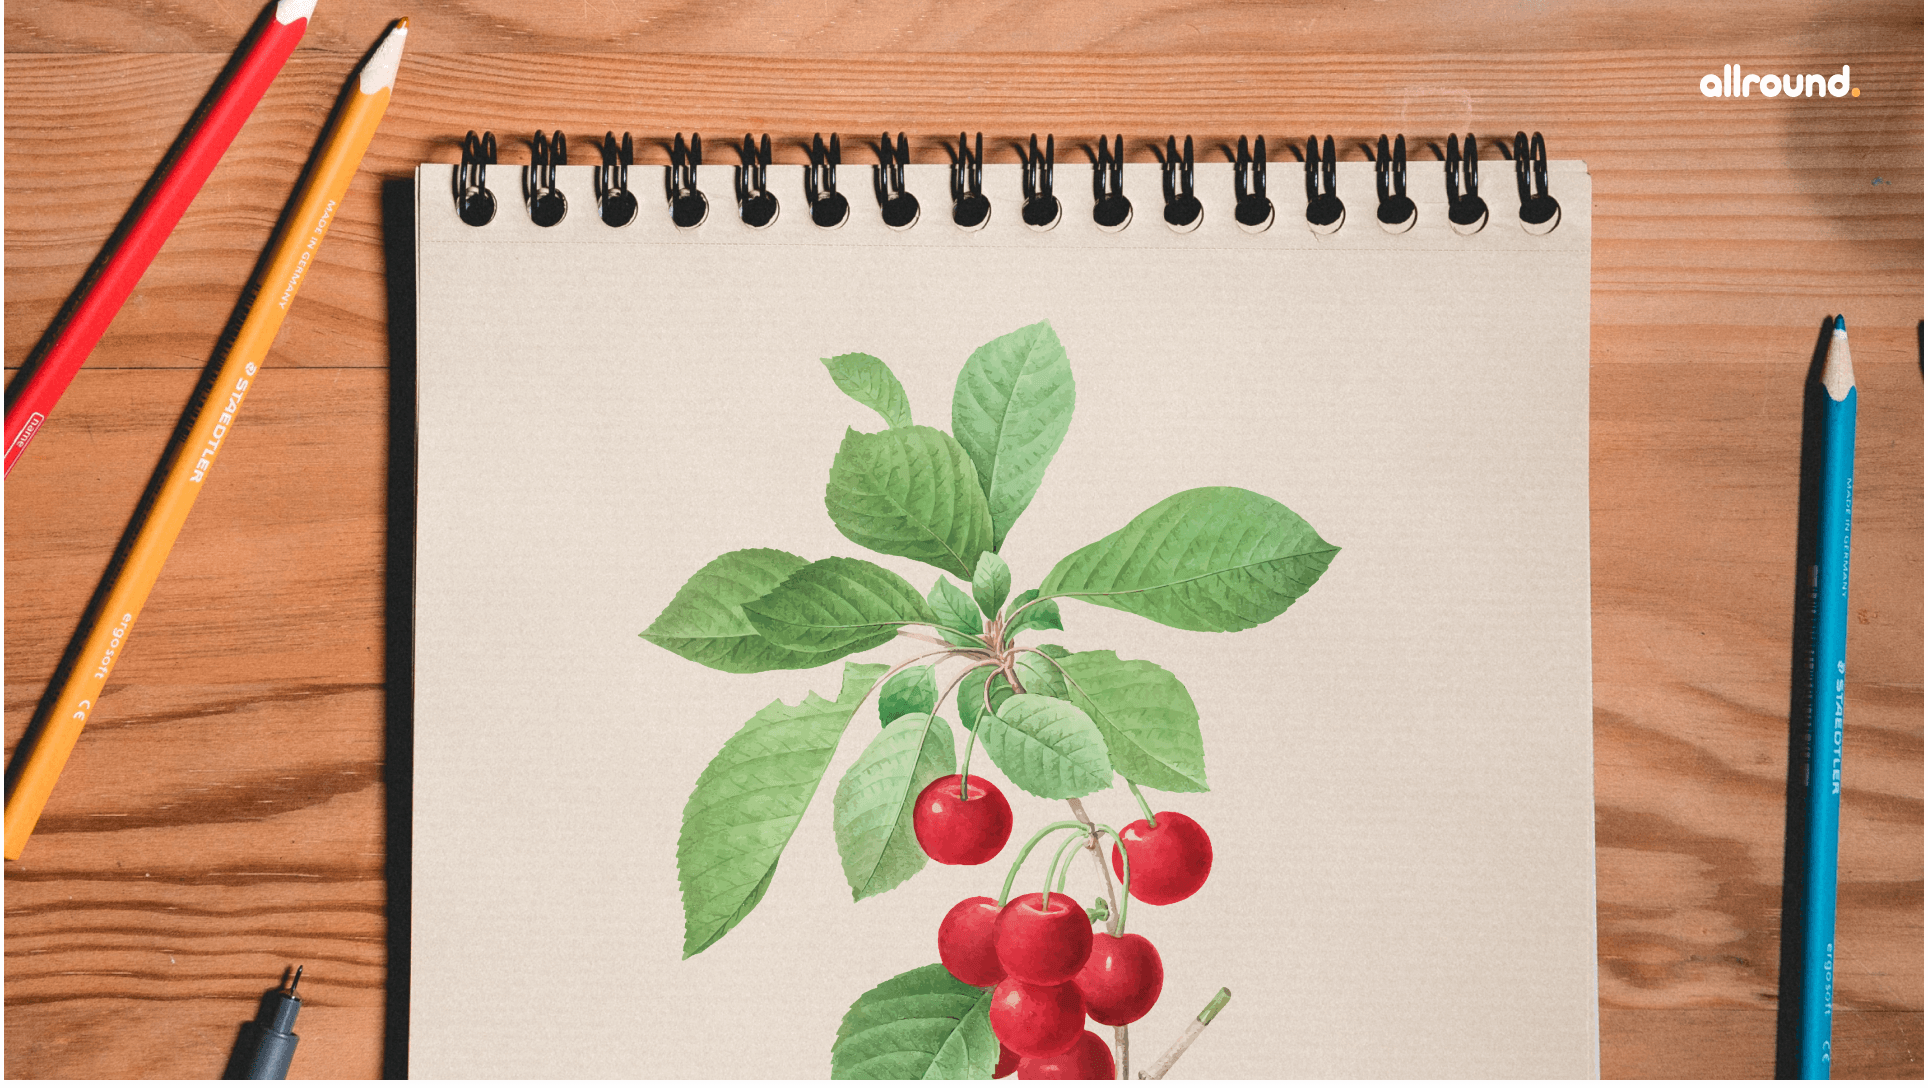
How to draw a cherry?
Before you and your kids start drawing, make sure to divide your sheets of paper in half – horizontally and vertically. This will help you have a better reference point when you draw.
We hope everyone is ready with their sheets of drawing paper! Let’s get started!
Step 1: For your first cherry, on the bottom right of your page, draw a circle with a slight dent on the top.
Step 2: Now on the bottom left of the page, draw another circle with a slight dent on the top. This is your other cherry.
Step 3: For the joint stalk of your cherries, draw a slightly curved upside-down ‘V’ that joins the dents on each of the previously drawn circles.
Step 4: To make your stalk sticker, add another curved upside-down ‘V’ on the other side, but this time it should not be joined on the top.
Step 5: Make a little cap in the space that you left in your previous ‘V’.
Step 6: Next, add a leaf to the top of the cherry stalk/stem.
Step 7: Lightly draw lines for your shading.
Step 8: Add tiny circles for the highlights.
Step 9: Now simply outline your cherries with a marker or crayons and fill them with bright colors!
You have successfully completed your cherry drawing project! We hope you enjoyed this little activity with your kids!
Wait, we have a little cherry fun fact before you go! Did you know that the average cherry tree grows enough cherries to make almost thirty pies?! Wow!
Also, please don’t chew on cherry seeds! They can release toxins. Just remember to spit those pits!