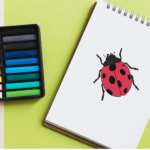
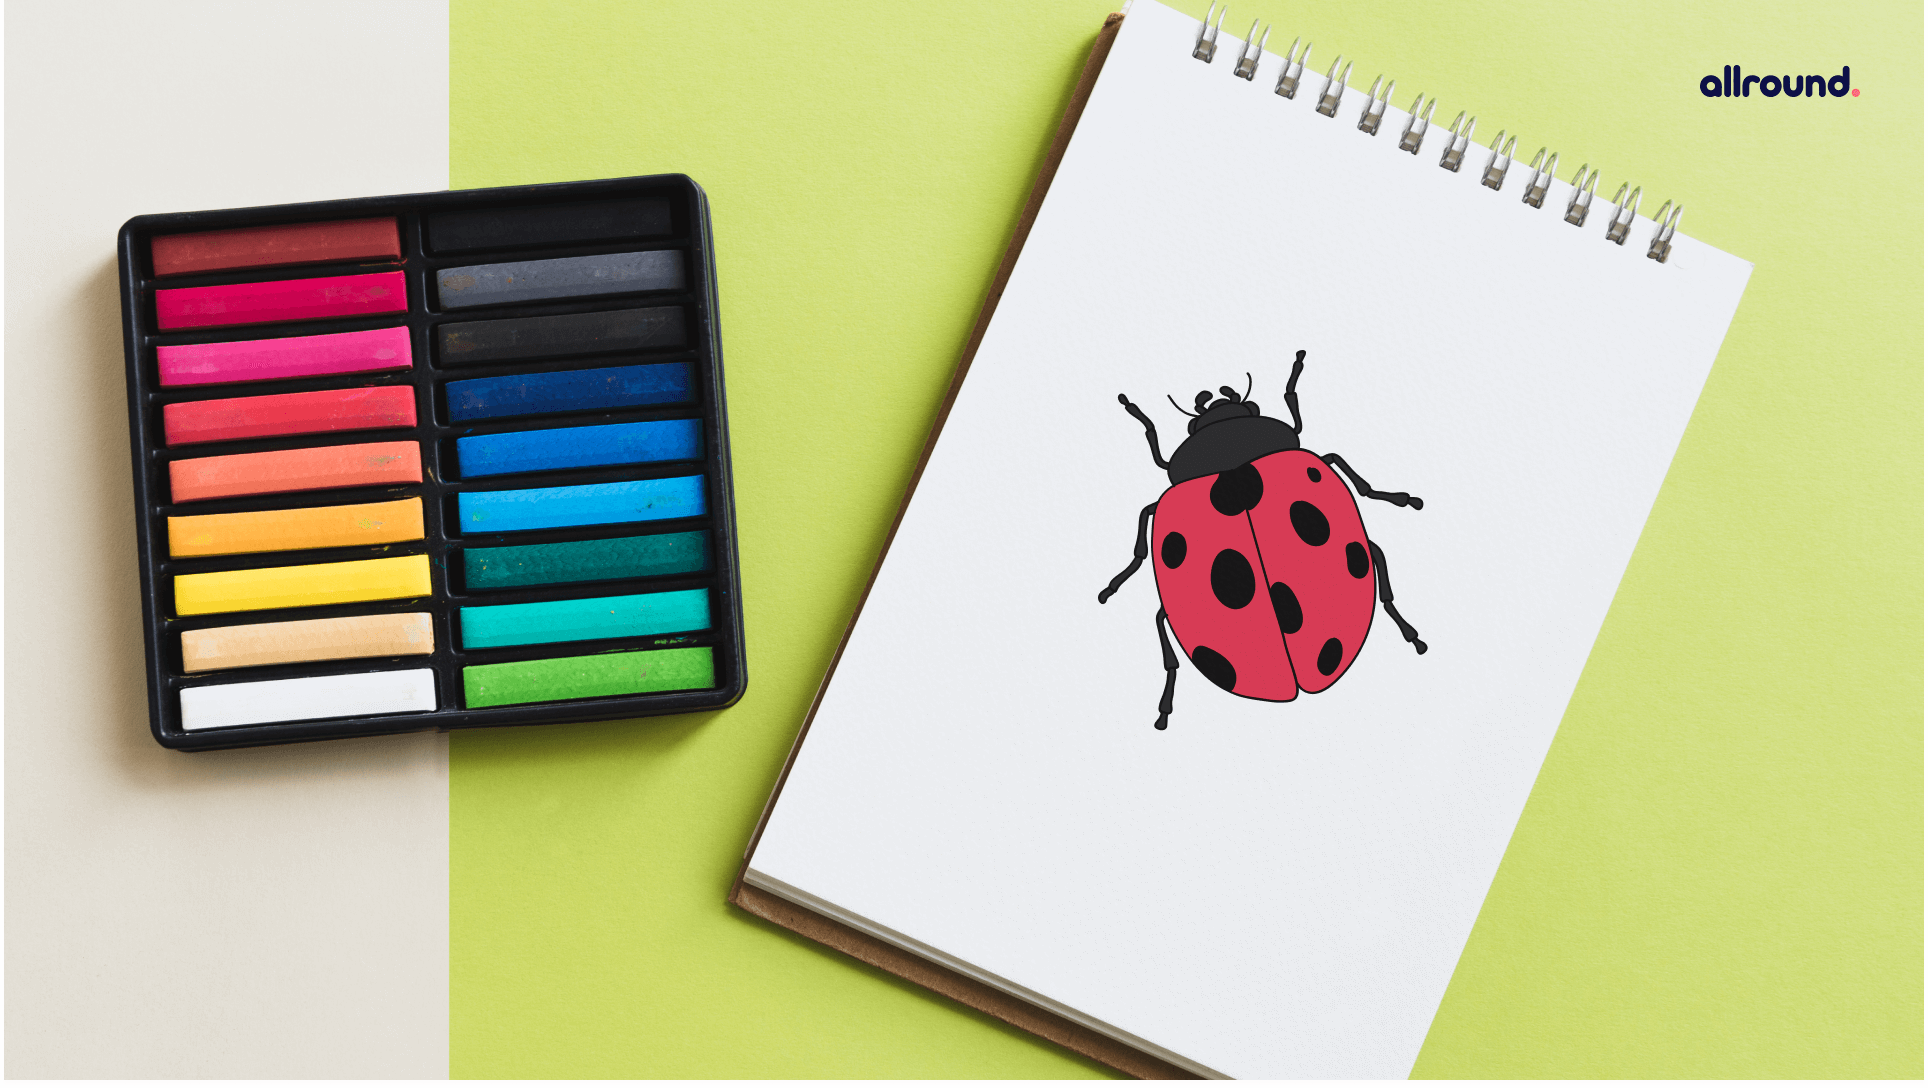
How To Draw A Bug?5 min read
Welcome back! Today let’s talk about different kinds of bugs in the world. Some of us are scared of bugs; however, most of us love these little creatures due to their beauty and structure. Especially, kids have a special place for most bugs, and there is no denial about it. Our world is filled with infinite such creatures, and the year is a diverse species. Some of them are colorful, whereas some of them are poisonous. But why are we talking about them today? Yes, you are thinking right as today we will teach you how to draw a bug. Drawing a bug seems exciting and funny together. When you tell your kid about drawing a bug, they will surely get excited as they love these little creatures. Moreover, making a minor bug will help your kid in developing many qualities. So grab your pencil and colors to start making a minor bug.
Contents
Steps to Draw A Bug
Here are some easy steps to draw a bug:
1. The beginning: For this first step of our information on drawing a bug, we shall begin with the bug’s thorax. For the thorax, we will use a curved line to create a rounded shape. There will be a small hole at the very backside of the factor at the backside of the shape. We will be filling that hole in one of the subsequent steps, so now you’re geared up to proceed on to the next step!
2. Continue to draw the physique of the bug in this step: Now that you have the thorax of your bug drawing done, you can begin to draw the stomach in this step. Again, the stomach is separated into two halves, and you will use some more fantastic rounded strains to make these halves. They will join in the center, and you will be filling in the hole you left in the thorax previously. However, it wouldn’t be an awful lot of a bug ahead, so we shall add that next.
3. Now, draw the head and the first legs: The head will have two diagonal ovals at the base of it for the eyes. Then, you can draw some feelers with some skinny rectangles with extra ovals at the end. Finally, you can use some pointy traces above the eyes for the pinnacle of the head. Finally, we will include a leg on every aspect of the thorax. These legs will be drawn using three sections for everyone.
4. Next, draw some extra legs for the bug: You have two legs for your worm drawing so far, and in this step, we will add two more. These legs will go on the center of the bug. They will appear very comparable to the first ones you drew.
Alternatively, the perspective will be a bit different. Once you have it searching as they do in our example, you’re equipped for some remaining details!
5. Now, you can end off the closing details: Soon, you will be capable of coloration in your picture; however, we have a few closing vital points to add to this step. As you know, bugs have six legs in total, and now we will be including the last two legs. These will additionally be made up of three segments that prolong backward. Then, you can add some curved line detailing to the bug’s head as soon as you have these legs. That’s all there is to it for this step, and now you’re prepared for the remaining one! Before you go on to step 6, you can additionally create your personal touches and details.
One element that you ought to do would be to draw a historical past for your drawing. This ought to endorse what form of surroundings these bugs are in, or you ought to create a more excellent stylistic, historical past for it instead. You ought to add some objects and props for your bug to interact with, and if you’re feeling bold, you may want to draw some different bugs alongside this one!
6. Finish off your bug drawing with some color: This sixth and last step of your bug drawing is the one that will enable you to carry some excellent colorations to your image!
Use a range of exclusive colors of inexperienced to coloration in the insect. However, there are many extraordinary methods that you may want to go about coloring this in. Insects can come in exceptionally any color you can imagine, which offers you a lot of freedom to use your preferred colors for this picture.
You ought to make the shades vibrant and shiny or maintain them a bit extra muted and subdued. It’s all up to you, and there are no incorrect approaches to go about it! Once you have chosen your colors, you can also enjoy them as you pick which artwork mediums you will use to convey them to life. It would help if you went for acrylic paints with colored pens to preserve them brilliant and bright or use watercolors and colored pencils for different muted looks.
So these were the easy steps to draw a bug. Making a bug has helped your kid in developing creativity as well as other skills. So it has been a fun activity in which your kid has done productive tasks.
Final Words
Your kid might not get interested in drawing a bug, but it will surely be a fun activity for them once they start making it. The best part about drawing a bug is the quality time you spend with your kid. In this quality time, unknowingly, your kid is developing endless skills that will help them in the future. Thus, you must always try to bring up something new for your kid like us. Also, you can grab an idea from here and use it in your daily life. So start making a bug with your kid.