How to draw a bed?3 min read
Contents
Introduction
You’d most probably like your kids to think more dimensionally if they know how to draw a side view of a bed.
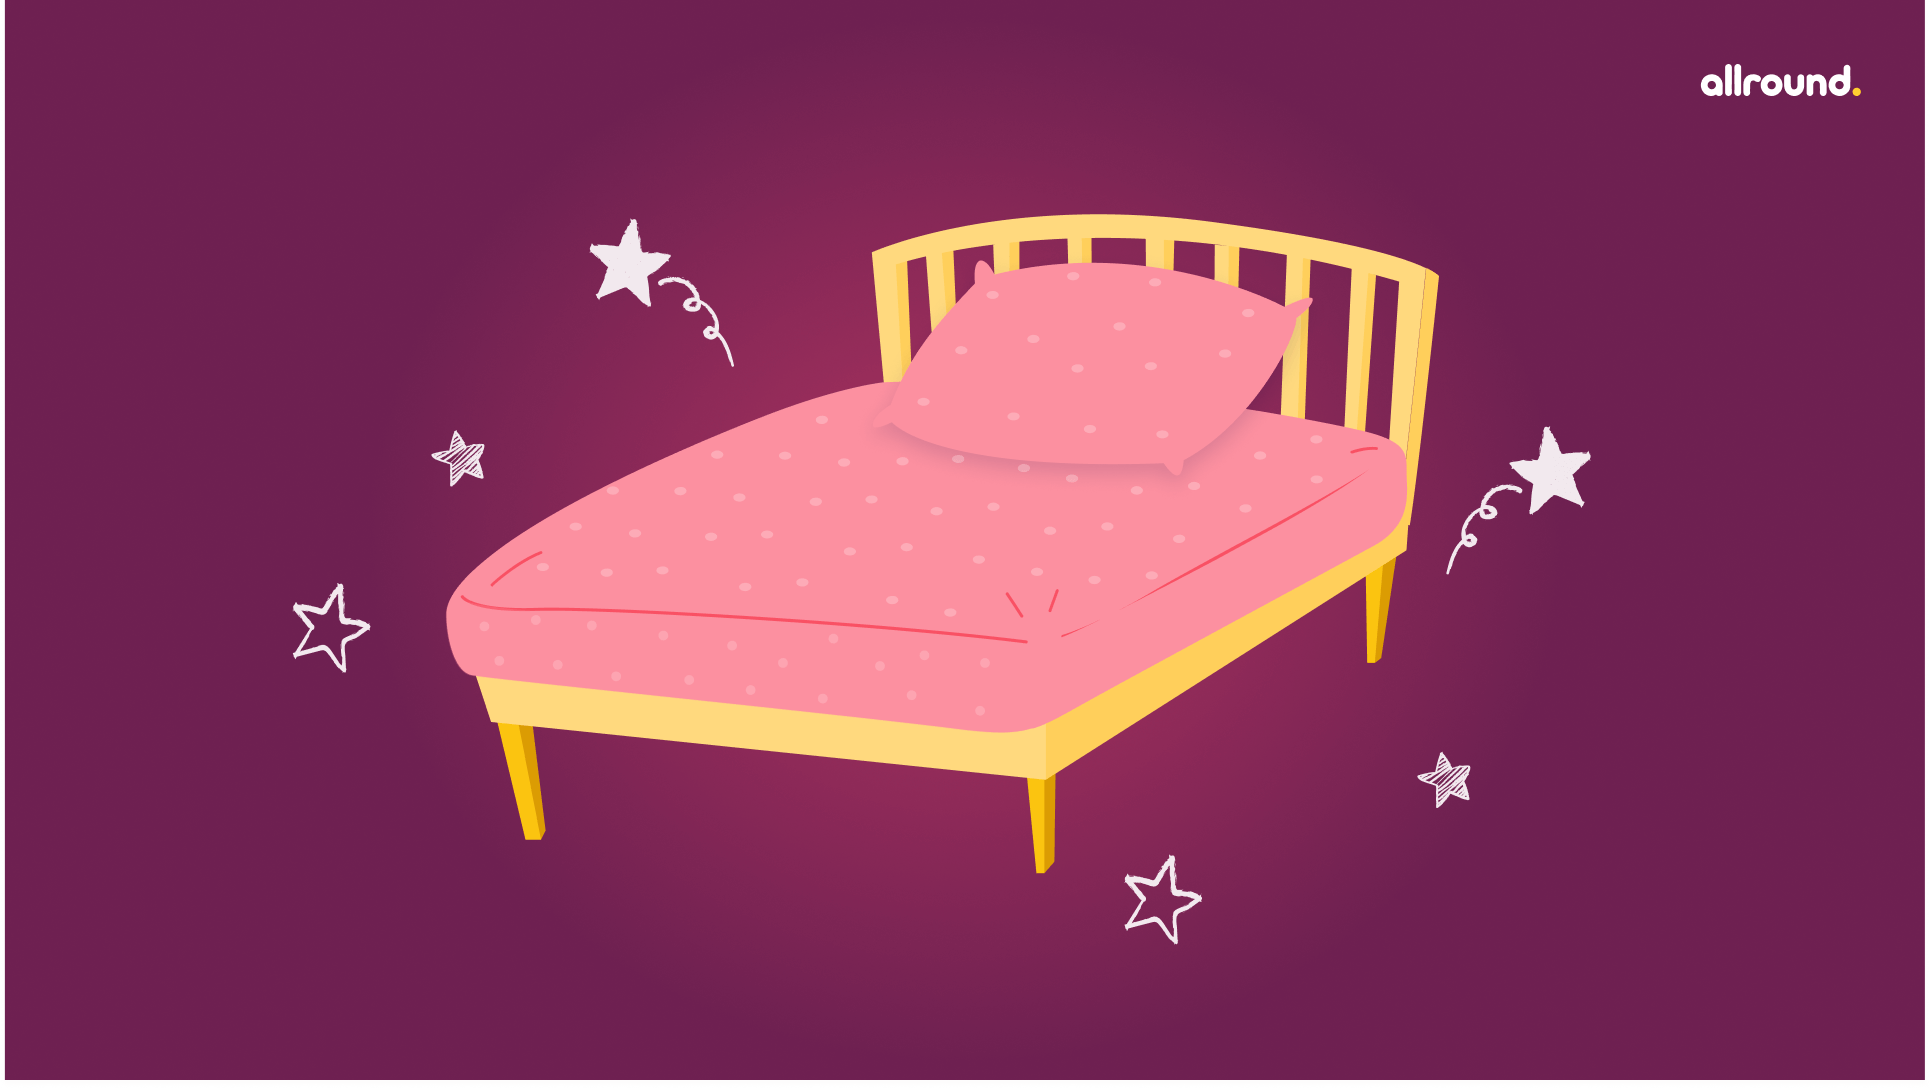
In that case, this new bed tutorial might be just what you need. This sample bed structure has an interesting three-quarter point of view, but all the required shapes are still pretty, simple and easy to draw. Further, adding a colorful quilt with big puffy squares emphasizes the dimensional look.
Your kids may be aware that interest in drawing wooden material could lead to becoming an architect. But it is very important for them to know about the wide world of product design.
If your kid is fond of new things, like furniture, then they might consider stepping into the world of product design. This new world is pretty broad and covers a ton of career opportunities.
Materials that you may require
- Pencil
- Drawing paper
- Black sharpie marker
- Crayons
Time needed
According to our estimation, you may need approximately 35 to 40 minutes in order to draw a super fabulous bed.
Procedure to be followed
- Right in the beginning, you need to draw a rectangular cube. After this, draw a parallelogram to form the top of your bed’s mattress.
Now extend a straight line in the downward direction from each of its three nearest corners. Once you follow the previous instruction, connect these lines using straight lines. This will form the three-dimensional rectangular cube. - In the next step, you need to draw the bedposts, erasing the extra part as necessary. After this, draw a narrow rectangle upon each corner. Make sure to extend each block beyond the cube on the top and on the bottom respectively.
- Here you have to draw a set of parallel curved lines in the shape of a rainbow starting from one bedpost to the other part on the narrow end of the bed. You’ll get a picture similar to the one displayed below.
- Time to draw a circle on the top of each bedpost. Tell your kids that these are actually the knobs or pommels in short.
- Now you need to draw a straight line that must pass down from the middle of each bedpost. This will give them a three-dimensional appearance.
- After this, simply draw the blanket on the bed in any form that you like. Make sure to erase all the unwanted parts. (You may also use overlapping curved lines in order to draw the lumpy top of the blanket as well as the overlapping folds of the bottom of the blanket).
- Erase the unwanted part after drawing the pillows. For designing each set pillow, enclose it in an oval shape.
Once you follow the previous instruction, time to draw “U” shaped lines at each of the corners. After that, draw a curved line to indicate the seam of your pillow. - This step is optional. But it is recommended to follow this step as well. Here you are required to decorate the footboard of the bed by drawing a rectangle within it. Just remember that it must be parallel to the exterior.
- Add whatever texture you want your cloth to be like. Further, design your pillows using curved lines.
- Now coming to the favorite part! All you need to do is color your bed with your favorite color combination! Choose your favorite colors and start drawing!
Conclusion
Do you wish to teach your kids more about wooden furniture? If your answer is yes then you must definitely try this tutorial. This easy, step-by-step furniture drawing tutorial is here to answer all your queries.


