How to blend colours? 4 min read
As soon as your kid learns how to color or paint with one color in an organized way, understand that it’s the time to introduce them with the concept of blending! This way one blended color will make a soft and gradual transition into the other. It is considered to be one of the most useful skills to have for all kinds of projects, especially in the case of designing.
Contents
Should we use painting colors as a medium while blending?
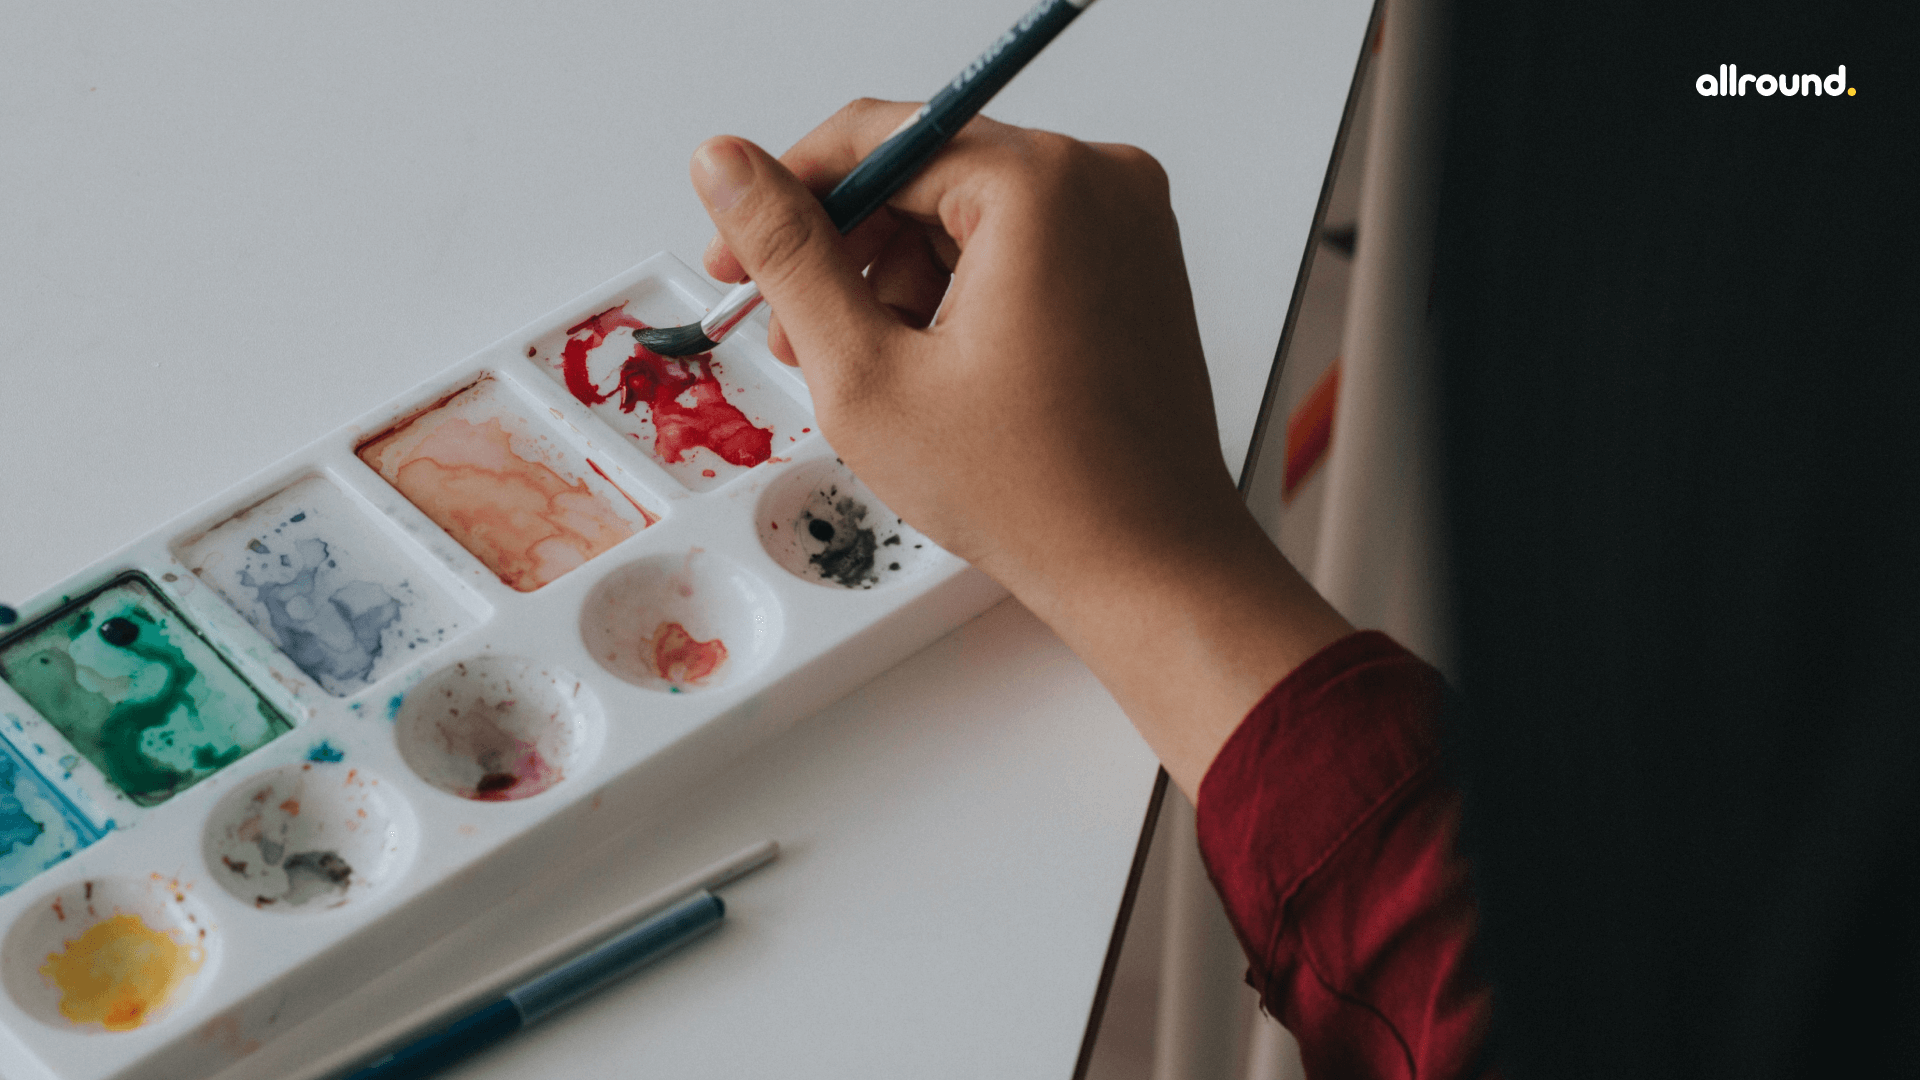
You might feel that blending colors with paint is one of the easiest ways to choose. This is because while painting, the colors mix more easily than with any other medium.
Drawbacks of choosing painting colors
Apart from the advantages that we discussed, there are actually some drawbacks as well. Starting from the basic disadvantage that might arise is to be in a dilemma while choosing the perfect shade.
In simpler words, whether you use watercolors or tempera, for blending you require a perfect lighter tone. And this tone isn’t easy to create if you are a beginner.
Moreover, painting is a cumbersome process. Gathering all the time for cleaning that painting entails is quite difficult to manage.
Usage of crayons for blending
Don’t worry because of the backlog that painting colors have. We have another medium that you must try! It is observed that crayons are way better than painting colors for beginners. They actually do a fine job in this area of blending too!
But one thing that you need to keep in mind is that they actually call for a heavy hand! This happens because children need to lay down the color crayon set, and then scribble them back and forth continuously over the edge until a required look appears.
With the usage of crayons, you can get an opportunity wherein you can easily experiment with colors. This would ultimately depend upon the amount of pressure applied while coloring.
Even if a person follows a basic color theory or color-wheel charts, for instance, yellow and blue crayon lines. Then both of them together form green! Isn’t it amazing! Blending is magical. It might take some amount of patience, but once you learn how to conquer this art, then all kinds of new possibilities will open up in front of you.
Some basics that you must remember
Try to blend two different colors on white paper before coloring it on the main sheet. A white paper is usually recommended as it allows you to see all the shades and color variations when either a little or a lot of pressure is applied. This may also happen when you overlap two different colors. Paper that has a perfect amount of texture works well with crayons.
In case you are a beginner, you must draw with a little pressure first. After this, press more firmly in order to get a darker version of the same color.
But before proceeding, it is important to make a note of the materials required.
-
Pencil
Choose a pencil that has a high HB grade. It will help you to make nice dark lines whenever you need them. Also these lines are very easy and simple to erase.
Apart from this, if you buy a pre-sharpened one, it will save your time.
-
Eraser
Choose large erasers as they are easy to hold and grasp.
-
Black Marker
With the use of such markers, you can make nice black outlines. They have a nice tip for coloring and don’t usually bleed out.
-
Crayon colors
These colors always work well. Usually, choose the packet having 24 crayons in it. The color packages of such crayons seem a bit richer and warmer than others.
Procedure
- Draw a sample flower. You may choose to draw any flower of your choice. Like the one shown in the picture.
- Now pick any two primary colors for coloring. For instance, you may use red and yellow. They’ll give orange color when blended.
- Always fill in the crayons within the boundaries of the flower petals.
- Once you are done with the petals, choose two colors for blending the central portion.
- Complete the other parts of the flower as well. You may pick up a dark green and light green blend for the stem. Whereas you may go for some yellowish and light green shade for the leaves.
- After blending all the required parts, give your flower an outline with the help of a black marker.


