Origami Animals : Paper Craft Activities for Kids5 min read
Do you want to introduce your child to the fantastic world of origami? We have the perfect activities to get you started in the right direction.
Here are 4 interesting origami activities that you and your child can do together:
- Origami Dog
- Origami Fish
- Origami Rabbit
- Origami Butterfly
Contents
What materials will you need to make your origami animals?
- Origami colored paper
- Scissors
- Marker
Let’s Get Started!
Follow these simple steps because your origami animals are just a few folds away!
Origami Dog
Step 1: Fold your origami paper into four and then unfold it.
Step 2: Next, fold the 4 corners towards the center. You can call them triangles.
Step 3: Open up one of the corners and fold it in half along the edge such that it is facing the center.
Step 4: Open one triangle and fold it in half – horizontally – towards the center of your square.
Step 5: Now you can open the triangle that is opposite to the previous one and fold it in half – again horizontally – but away from the center of the square.
Step 6: Now fold the whole square in half.
Step 7: Open up the triangle that is adjacent to the folded triangles.
Step 8: Carefully fold this triangle along the diagonal of the rectangle that is formed.
Step 9: Fold your paper along the crease in order to form a right-angled triangle and then unfold.
Step 10: Next, open the triangle that is opposite to this one and do the same process again in such a way that it matches the shape that is on the other side.
Step 11: Now you have to fold the two right-angled triangles that you formed in the previous few steps.
Step 12: You then open up the folded portion of the front part of your origami craft.
Step 13: Simply add eyes with your marker and that’s it!
Your cute little origami dog is ready!
Origami Fish
Step 1: To make your fish, fold your origami paper in half – horizontally, vertically and even across both diagonals. Then unfold it.
Step 2: Fold your paper in such a way that the two corners of it come together along the creases so that it creates something of a diamond shape.
Step 3: Open up one end of your paper and fold your resulting shape into half from both the ends to construct a tapering shape.
Step 4: Now fold the other part of this resulting shape upwards – from both the sides.
Step 5: Next, fold the bottom part (bottom end) of the shape in half. Do this by bringing its corners to the center.
Step 6: Fold your bottom corner toward the top corner. Now open it up.
Step 7: Diagonally fold the bottom portion from both sides at different angles.
Step 8: Form a pointed shape by folding it along the crease.
Step 9: Create another pointed shape by repeating this same process on the other side.
Step 10: Draw the eye of your fish.
Add your origami fish to your origami collection.
Origami Rabbit
Step 1: Simply fold your colored origami paper in half and then open it up.
Step 2: Bringing the corners together, vertically fold both the halves of your paper.
Step 3: Horizontally fold it in half and then open it up fully.
Step 4: Now bring the corners of your craft paper to the center and fold the creases.
Step 5: Repeat Step 2.
Step 6: Fold your paper along the diagonal creases on one side to form a triangle.
Step 7: To establish a tapering shape, fold the triangle in half on both sides.
Step 8: Now fold the end of the triangle towards the opposite side.
Step 9: Horizontally fold the whole paper in half.
Step 10: Take out the two ends of the tapering shape. Fold along the crease to form an L shape.
Step 11: Now take the rectangular part of the paper and fold it diagonally. Open up the rectangular part.
Step 12: Now fold it in half again and fold it along the diagonal creases from the previous step.
Step 13: Now to form a square, very carefully bring the two corners of the rectangular part together.
Step 14: Spread the gaps on both the ends of the tapering edge portion.
Step 15: Draw your rabbit’s eyes.
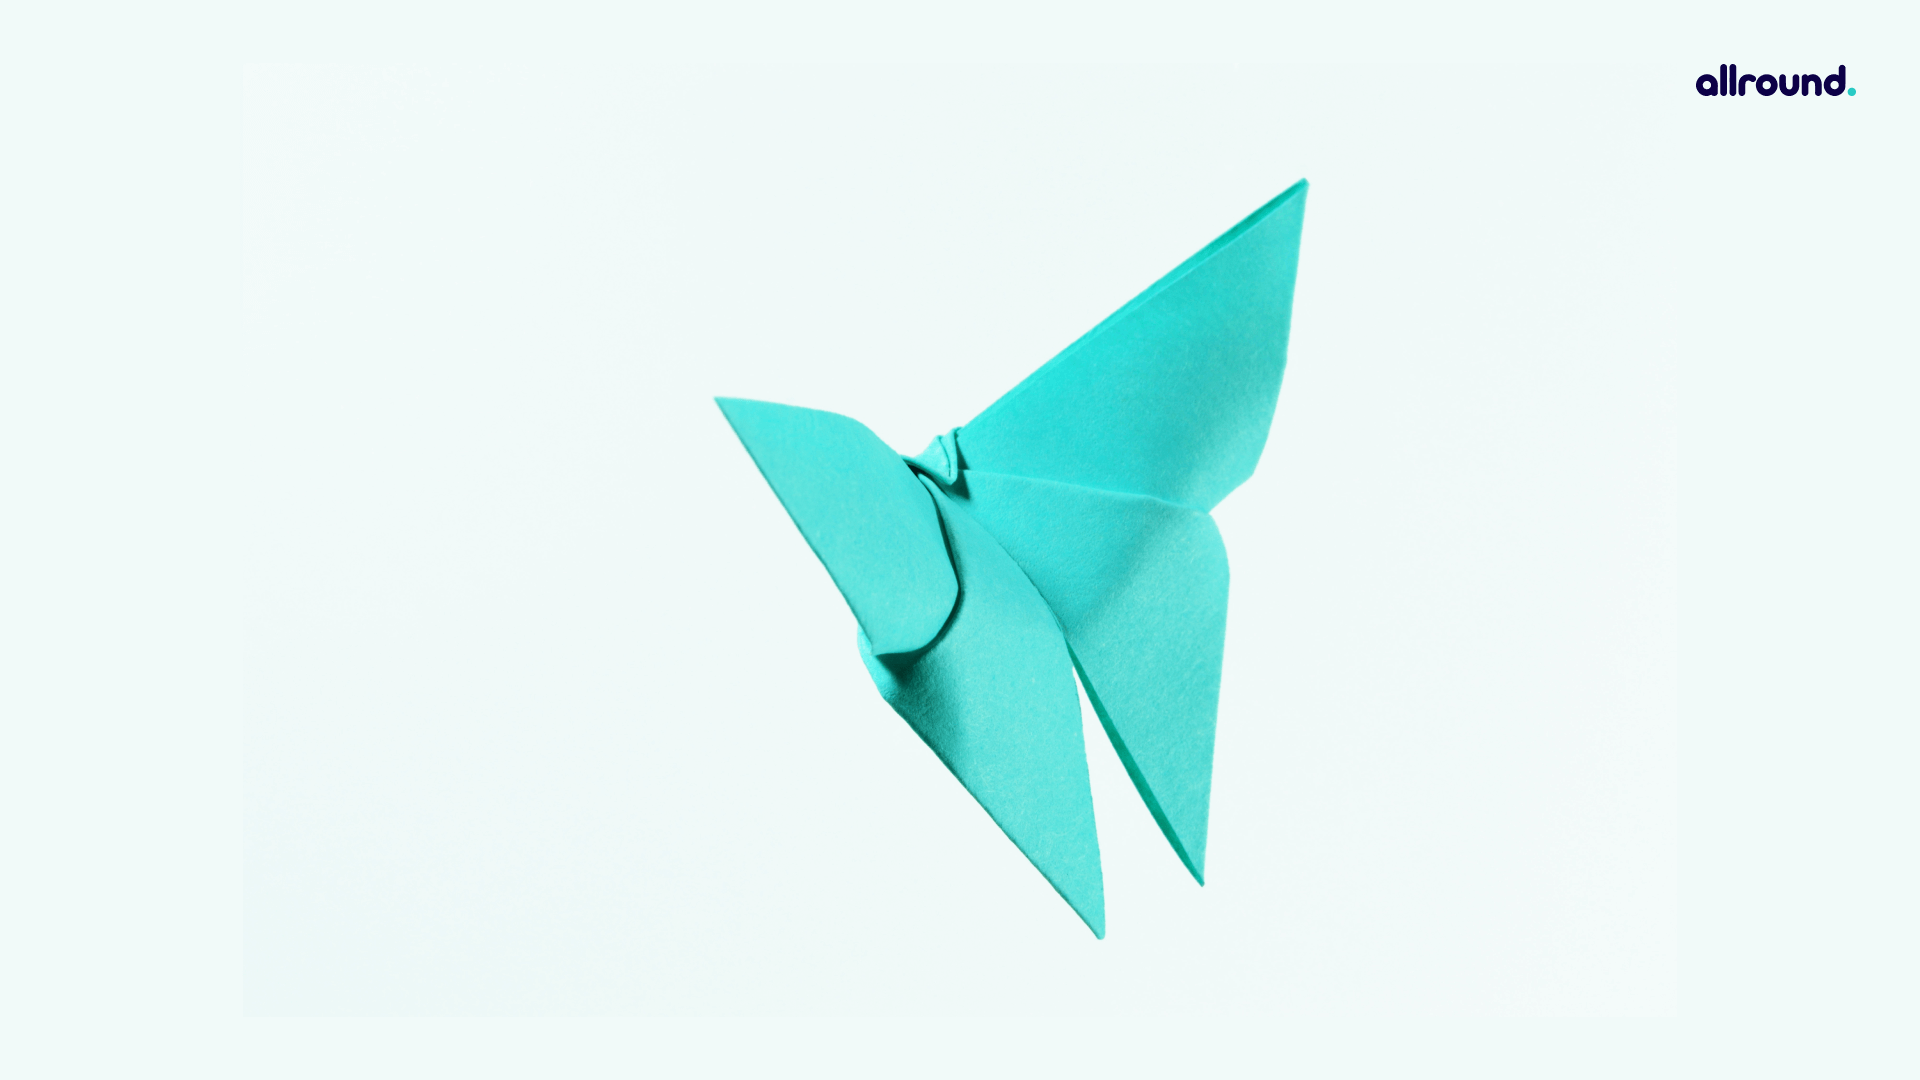
Origami Butterfly
Step 1: Fold your origami paper in half – bottom to top – and make sure the edges meet. Then unfold it.
Step 2: Now fold the top and bottom edges so that they meet at the center.
Step 3: Fold in all four corners so that their edges meet at the middle horizontal crease.
Step 4: Just fold down the top half.
Step 5: Next, fold the center of the bottom half to the top half. With your fingernail, crease about 2.5cm or 1 inch of the center. Make sure you do not crease it all the way. When you remove your finger, there should only be a crease in the center.
Step 6: Turn the paper over and pay attention to the next few steps.
Step 7: Place one finger on top of the middle of the paper. Next, with your other hand, tightly wrap the paper around your finger.
Step 8: When you remove your finger, you should have a loop.
Step 9: Using your fingernail, poke into the center of the bottom of this loop.
Step 10: Now, with your forefinger and thumb, grab both the ends of your loopholes and pinch them together.
Step 11: Pinch it and release it to make your butterfly flap!
Step 12: With your marker, you can draw and design your butterfly wings.
And there you have it! You just created a pretty little butterfly that can flap its wings!
By the time you’ve reached the end of this page, you have hopefully learned to make three different animals and one butterfly with flapping wings from your simple sheets of origami paper! Are you proud of yourself? Because we’re proud of you!


